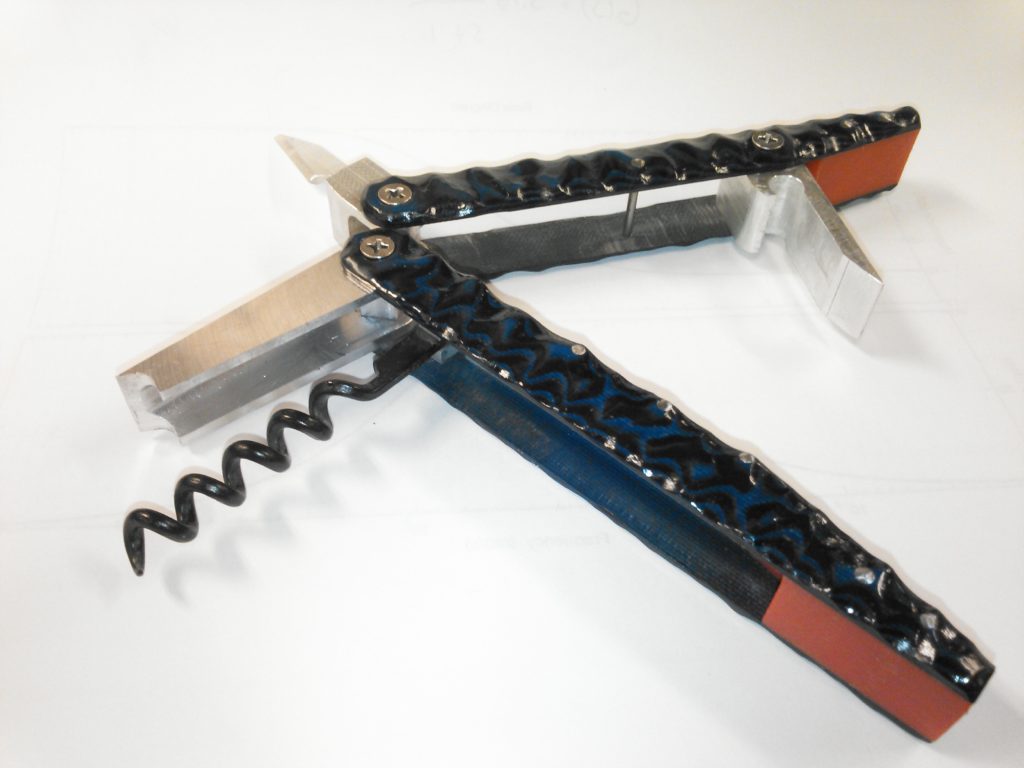
I am quite surprised at how well this project turned out, aside from a few minor flaws of which I am almost certain are in my mind alone. The Wine Knife is designed to operate as a cork remover/ bottle opener tool but with a bit more machismo. I wanted a larger, heavier, more masculine feel to the servers wine key I currently use, thus as a pocket sized tool, mixing the wine key with a pocket knife sort of style seemed to fit the profile. I know Swiss army did the same sort of thing just without the modern male influence therefore the piece had to be elegant with clean lines and modern design like high end sporting equipment, functional, fashionable, cool.
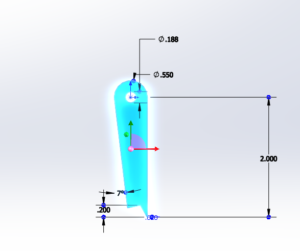
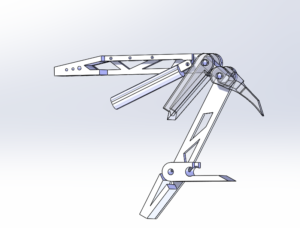
Initially I used Solidworks to create a cad model of the piece. I knew right away, after years of using a wine key professionally, that the biggest target to hit was the spacing of the tooth (which rests on the lip of the bottle) to the screw, too near or far and to short or tall would not allow proper cork removal. Using a standard servers wine key as a model I was able to create a set of specification that the design had to meet to be functional. As the screw is quite a difficult part to make and requires a strong steel construction I chose to pull one from an old key I had laying around. The tooth is another story as I wanted a single pull style key, faster more efficient with cleaner lines, I designed a tooth to be CNC machined (see part above).
The rest of the design while functional did not need such stringent measurements, as long as everything fit into the final package neatly and cleanly all I had to do was machine the parts to a given tolerance, generally +/- .01″, tight but not impossible with a quality mill.
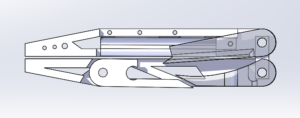
Using materials bought from a knife supply company, pinstock to connect all the peices, G-10 (Glassolite) sheeting for the handles, and pivots for the rotating parts, as well as remnant aluminum from the machine shop, and a bit of 3d printed plastics for fillers I was able to keep the budget around $45, cheaper than I had anticipated ($70+).
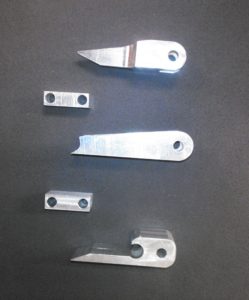
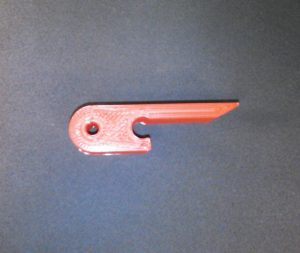
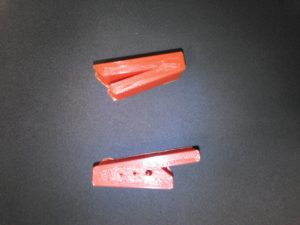
To build the Wine Knife I milled the parts seen above, save the tooth (middle CNC), as well as the spring and internal structure. The spring I made of steel, better k value, while the rest of the parts are 6061 Aluminum, notice in the image above the angles and curves to some of the parts, I’d like to thank John in the machine shop for showing me some creative methods when using the mill. I made a couple prototype bottle openers, bottom part, using the 3d printer to find a suitable design, see image below, which was then adapted to aluminum.
The foil knife was an interesting piece to mill, essentially done freehand, based upon a part drawing with minimal specs. Once the filler pieces, spring, tooth, foil knife, and bottle opener were finished I had the handles CNC lathed from a 1/8″ sheet of G-10. I had originally designed cutouts in the handle to see the interior workings, similar to a Leatherman tool, however the G-10 has a great blue and black layer that when sanded creates great effects and textures. Opting to remove the cutouts lead to a stronger outer structure removing the need for an internal metal shell, thus lowering the width of the piece and making it a bit lighter.
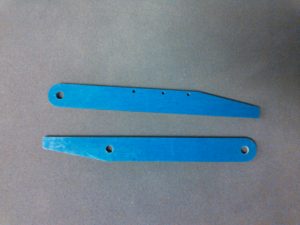
With all the parts complete, I began assembly using the pinstock to run three steel pins through the interior structure (small holes seen above) mounting the handle material to the inner structure. The lower handle is held together by two pivots that get screwed into place. The pinstock is meant to be held in place by flaring the ends with a peening hammer, just don’t hit too hard, once the pin gets peened you cannot remove or loosen (learned that the hard way). Funny thing with the screws purchased with the pivots, they were two to three threads too short, therefor I bought the next larger size and ground them down to the proper length, fasteners it seems are my weakest link in design. All the parts assembled properly, holes aligned perfectly, spacing and gaps were correct, except the 3d printed fillers which needed a little sanding due to shrinkage/ expansion (typical for pla).
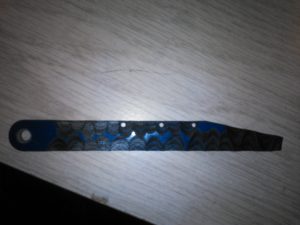
Once the piece was assembled I lastly needed to sand the handles to get the exterior finish. Two hours with a Dremel and wow a finished Wine Knife. One note about the G-10, super toxic when sanded, so wet sanding, a respirator, gloves, and safety glasses are required, even with all that protection you feel terrible after basically poisoned, next time Ill opt for a more natural material.

8 Comments. Leave new
What process did you use to make that handle?
The multi layer scales look really nice, and definitely give it a premium look. The epoxy will also act as a really good sealant over time. If you get the chance in the future, you could always replace the printed PLA parts with matching machined aluminum pieces. Nice work!
I love the design and material used. I am glad you were able to source some of the material. Would you use this design over other wine keys?
I liked your idea of developing a design that is easier to use. It really adheres towards universal design of designing objects for all people. Your design came out really clean and I like how accurate the modeling you have of the design is. I think this is a very practical project that could definitely be mass produced. Wonderful job!
Wow, It really looks good and like the cad! I wonder if you could have done some of the tools out of steel or titanium. While they are not as easy to machine, they would last a lot longer, especially the knife.
The final product looks professional and ready to sell at the store! Extremely impressive work. I think the next step here is to find a more streamlined, time-efficient method to manufacture these devices and you could have yourself money-making product. Beyond that, there’s no question that you’ve successfully achieved your masculine, pocket-knife aesthetic. Great job Ryan!
This turned out so well! I love the random design you were able to create on the handle! I remember you saying a friend wanted to buy it off of you before you even made it is this still true? And would you plan to make any more? Also just a tiny correction but I’m sure Greg Potts will tell you but you can’t lathe something, you can put it on the lathe and machine it but he will definitely let you know that you cannot “lathe” something.
Awesome, I love it! I love the look of it.