Introduction
The project has left me with a beautiful bamboo jungle bicycle I will ride into my next guerrilla warfare endeavor. The following will explain my process and eventually in good time I’ll reveal what it all means. To quickly recap: disappointed in my welding skills I switched from making a steel cafe racer bicycle to fabricating a bicycle from the jungle made out of bamboo, hemp and epoxy.
The Process
Design
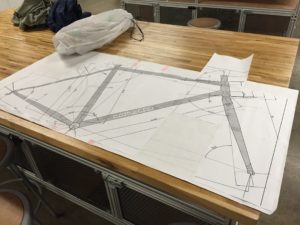
I wanted to make a custom geometry with this bicycle. Looking back this was probably a bit ambitious for a first attempt at building a bicycle frame. But hey, sometimes you just have to go for it. To design the custom geometry I many an hour researching various bike frame geometries of current bikes and tinkering with a program called BikeCAD. After many iterations and hundreds of changes to tube lengths, angles and other dimensions I arrived with something I think I am happy with. If there are any bike nerds out there that care I modified a track style geometry with a slack 70.5 heat tube angle with a slightly high bottom bracket and longer chain stays. Unfortunately BikeCAD does not allow you print a 1:1 scale of your bike unless you pay for the $400 pro version. Thusly, I had to download a much lower fidelity and less user-friendly program called RattleCAD, learn it, and then translate the geometry I had previously defined. However at least I could print a full size template for my jig using this.
Getting Jiggy
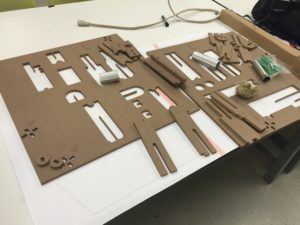
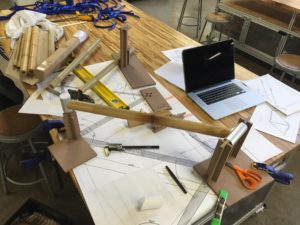
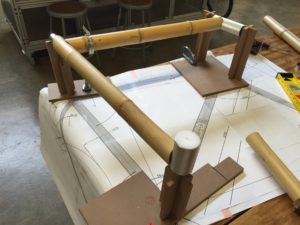
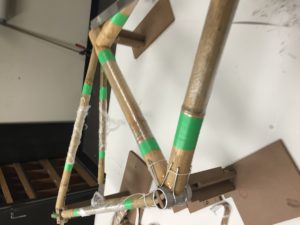
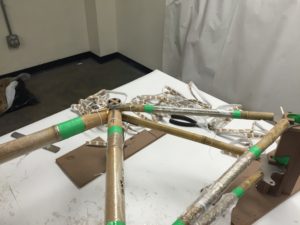
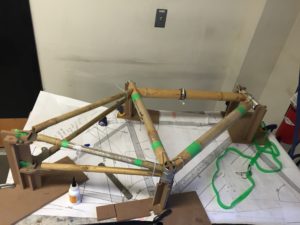
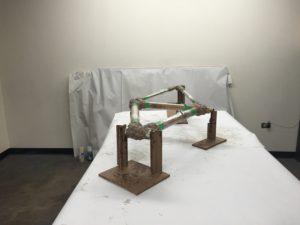
To keep everything aligned and straight so the bike doesn’t constantly veer to the left I used a jig. The jig I used was a modified jig template I ordered from the same supplier I ordered my bamboo tubing from. It is made out of CNC’d MDF board. My custom geometry and the subpar nature of this jig required a lot of modification (filing, cutting, and making new pieces) to adapt it to my custom geometry but ultimately it got the job done. However, this is one aspect I would definitely change in the next iteration.
Mitering and CrackGate 2016
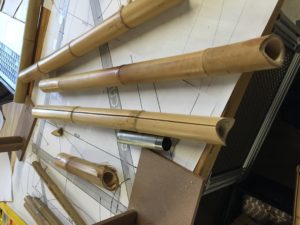
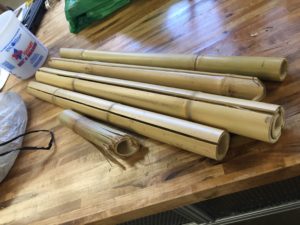
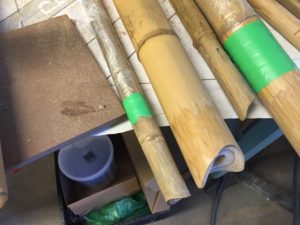
This is a good time to mentioned the specific bamboo I used. There are many species and kinds of bamboo and some of them are stronger and better for bike building than others. I was not able to find any colorado suppliers form good structural bamboo so as mentioned in a previous post I found a supplier online and ordered specially selected and modified bamboo for use in bikes. Unfortunately one of the tubes arrived cracked and I had to quickly order another one from the supplier. This experience should have given some idea of the trouble I’d have trying to keep the bamboo from cracking in this dry climate and it did but unfortunately there wasn’t much I could do about it.
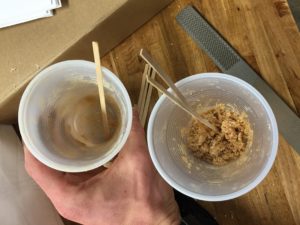
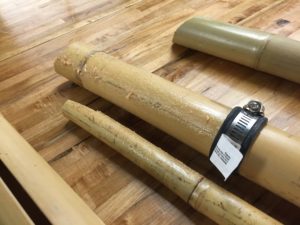
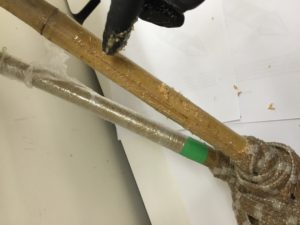
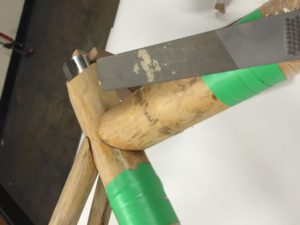
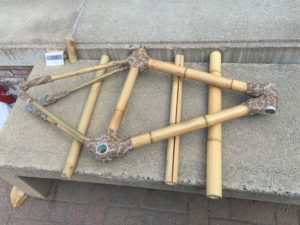
In order to fit all the tubes together all of the bamboo tubes were mitered and cut to length in the Makerspace wood shop. This process took over 30 hours and was easily the most frustrating. I would make a cut and mitre the tube nicely so it would fit. Then as I was sitting across the table working on something else without warning I would hear a slow “POP!” and “CRACK!” and my heart would sink. Several tubes cracked all the way through and could not be used but others where only partially cracked. I was running out of bamboo to use so I had to find a way to make these damaged goods work. I spent some time thinking and researching solutions and arrived upon a system of pipe clamps and mixing saw dust with epoxy to keep the cracks from propagating further.
Wrapping it up
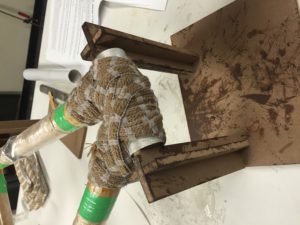
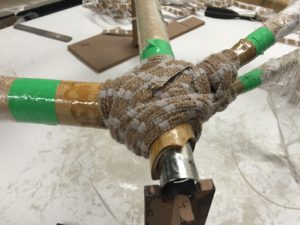
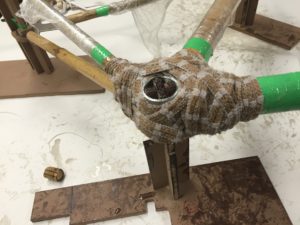
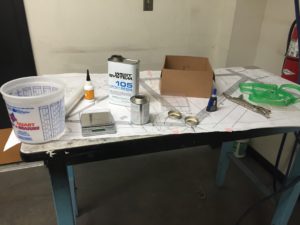
To form the structure for all of the joints of the bicycle I used a hemp/cotton rope and fiberglass epoxy. After some research online I found that using hemp backed with cotton allowed for better adhesion during the epoxy process. The epoxy I used was West System 105 with 205 hardener. It is highly regarded as the best for many structural and resistant applications. However, it is costly: I paid about $100 for the setup I needed at Mccguckin’s.
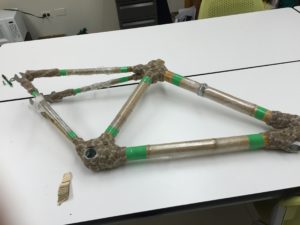
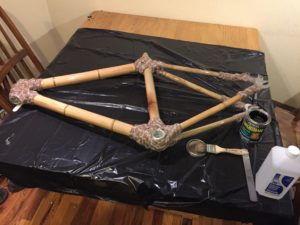
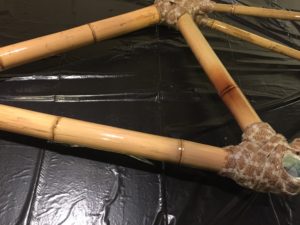
After all the tube were mitered to proper lengths and a good fit with each other I sanded all the ends to allow for good adhesion with the epoxy. I then secured them in the jig, rechecked all the angles and dimensions, and tacked them in place with various supposed quick drying glues. After that messy process and finding out that there really isn’t any magic quick drying glue which cures in seconds I moved on to an even messier procedure, the actual joints. To form the joints I found some vague direction online but had to estimate a lot as I went along. Before starting the epoxy I practiced the wraps and layouts “dry” to make sure I could form them before the epoxy cured. After, I was comfortable wrapping the patterns I measured and mixed the epoxy, massaged it into the rope, and went to town.
Finishing
In order to further protect the bamboo from the elements and give a nice surface finish I took a few steps to finish the frame and achieve the aesthetic I was after. During the epoxy process all the tubes where wrapped in cellophane and tape to keep epoxy (which gets almost everywhere you don’t want it) from damaging the amazing aesthetics of the bamboo. After the epoxy had cured this was removed and the entire bike was sanded for a final urethane sealant.

3 Comments. Leave new
Nice job! I’m also trying to build my own bamboo bike and went to rattlecad, but could’t find how to print 1:1. Would you please explain it? Thanks!
You definitely picked out an ambitious project and totally delivered on it. Simply designing a custom bike frame is a challenge in itself, much less building it from bamboo. I have been very surprised myself at the effect of Colorado dryness on wood. Hopefully the urethane sealant is enough to protect it from further breakage. The bike came out looking great but what you did the best job of in my opinion is documenting with pictures. I can see almost every step you had to take. Overall great job!
Really nice job! I am impressed at how well it turned out. It is unfortunate that you went over budget by so much. If you need more parts you can check to see if the component design class will donate parts to the cause. They keep parts in the DIDL and I would try contacting Mark Wrenchler to see if they would donate parts.