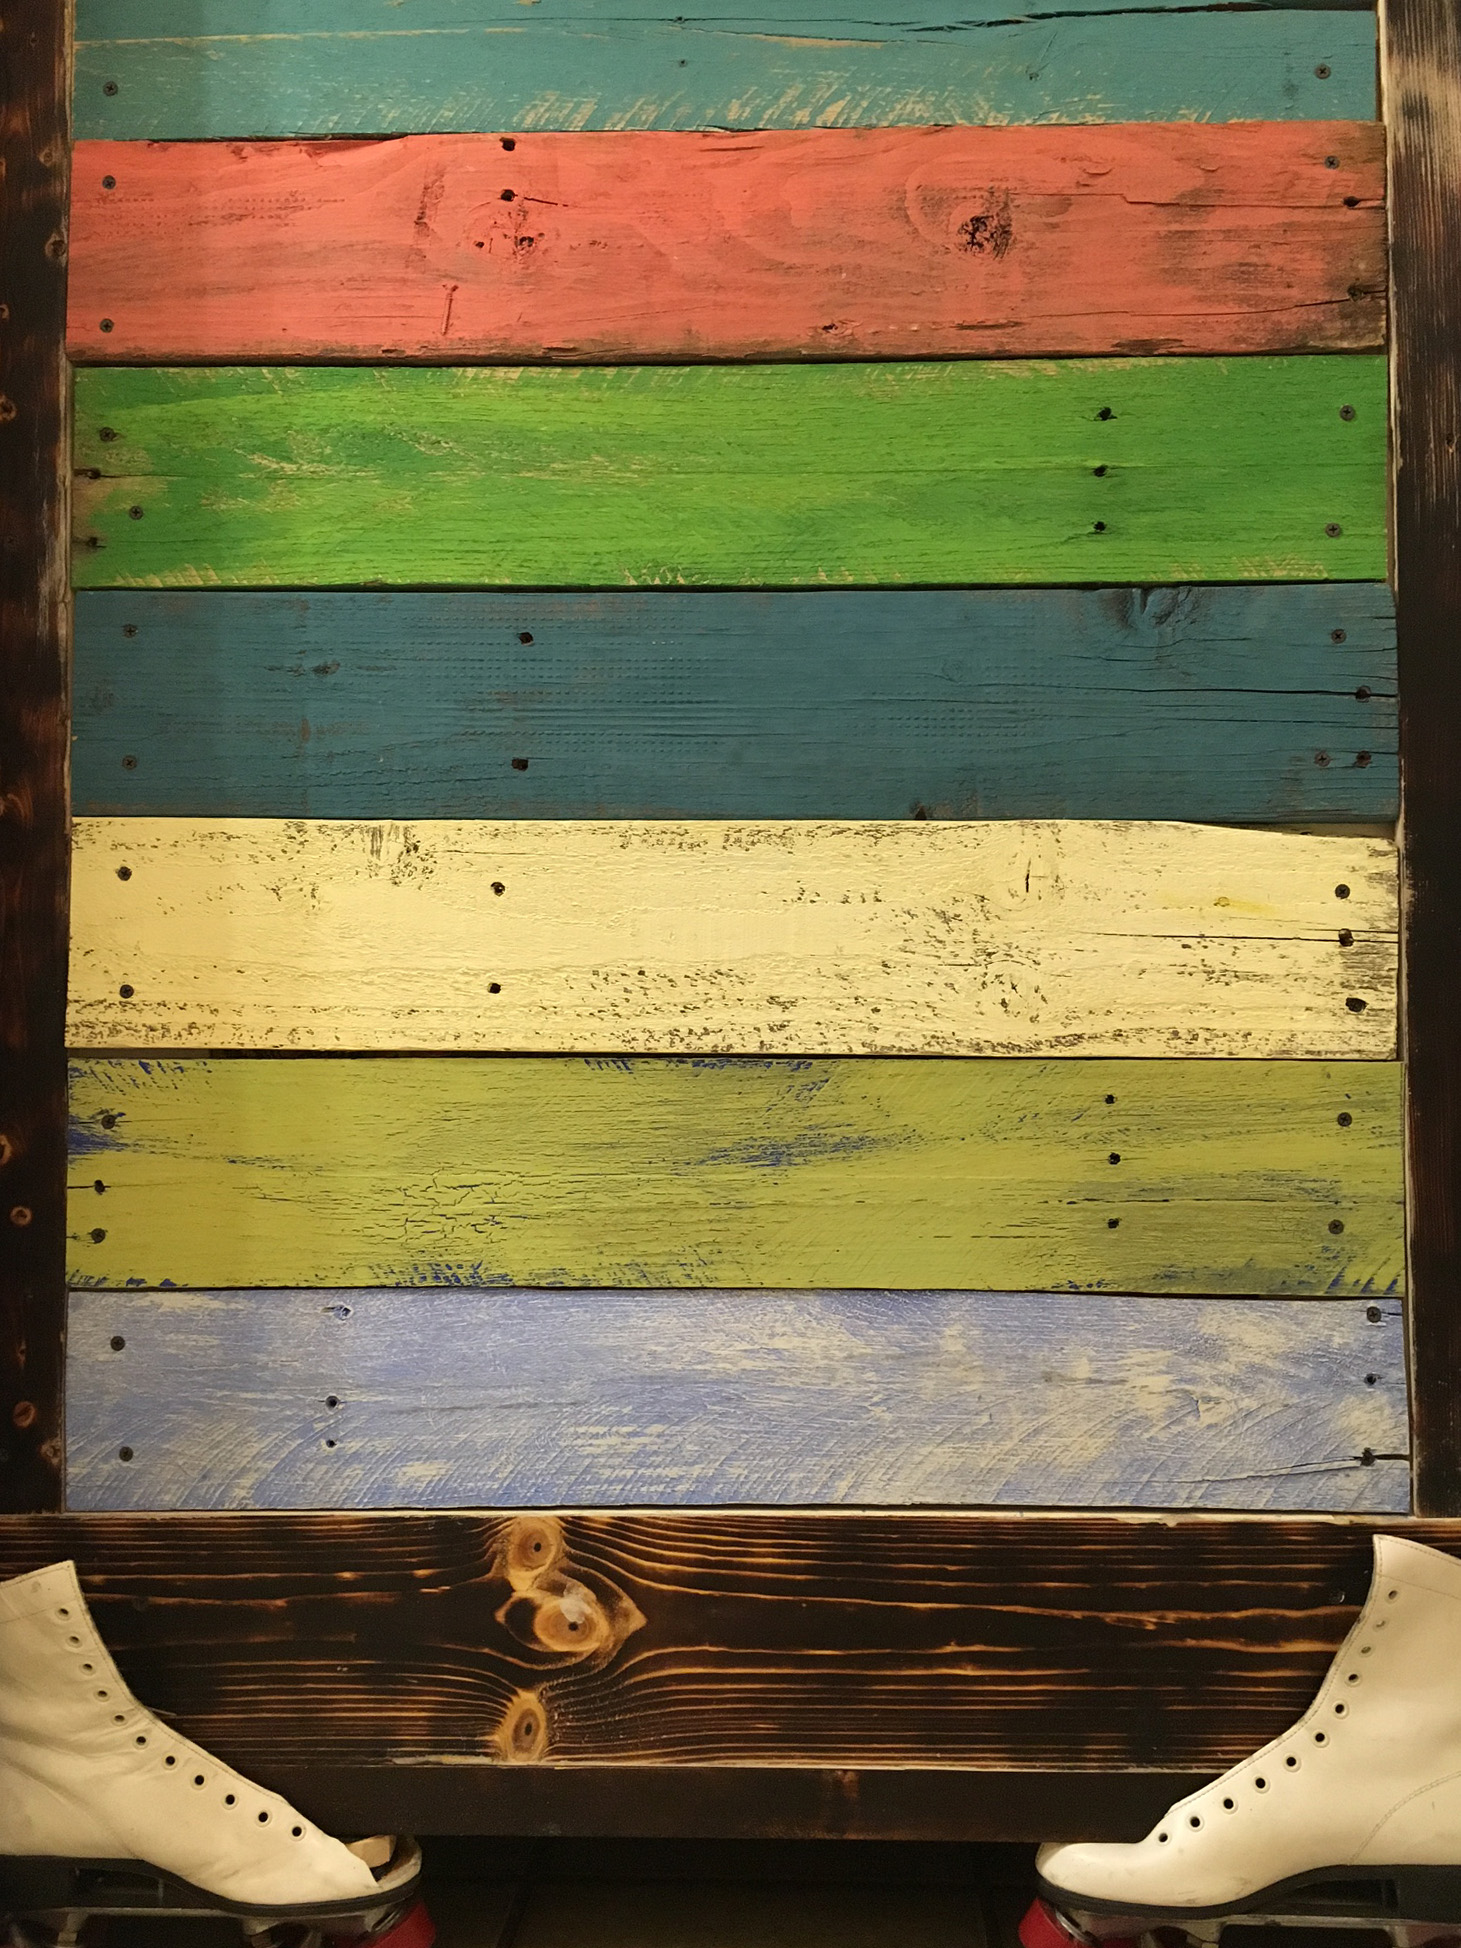
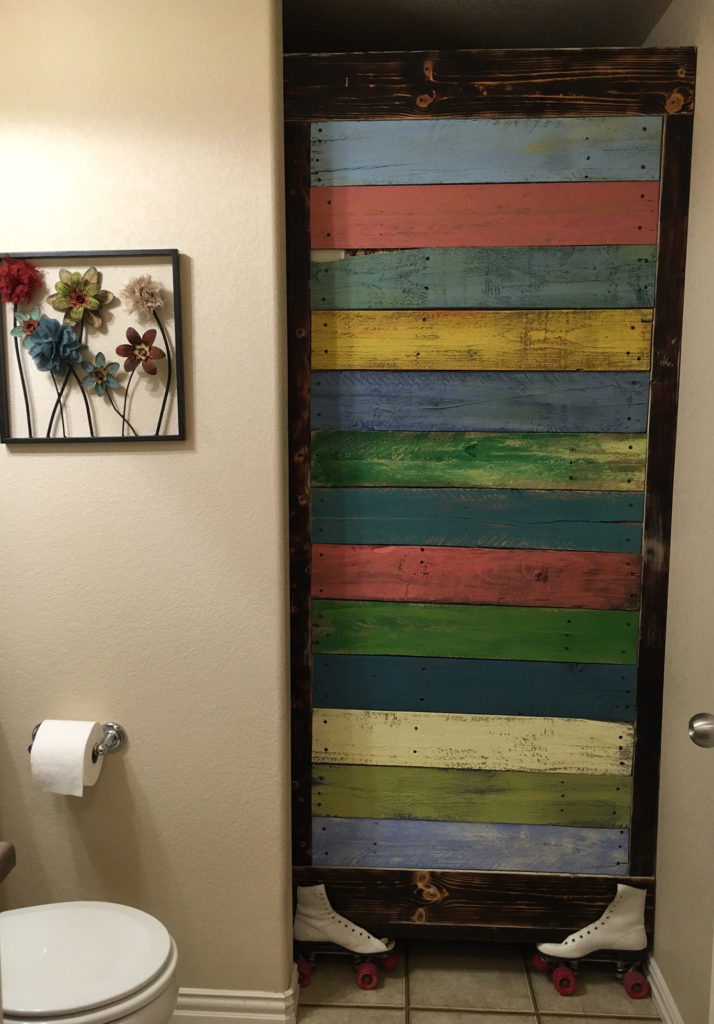
I set out to create a rustic sliding door that would be utilized to divide the bathroom from the laundry area. While the aesthetic was originally intended to be closer to shabby chic, the end result is something a bit more out of the ordinary. Throughout the design and actual building process, the door was consistently reimagined.
While many of the aesthetic details could be flexible and reworked as the process progressed, there were a few specifics that had to be met for the door to function as intended. It had to be at least 35″ wide and no more than 3″ deep. It needed to roll, either supported from above or below, across the narrow space available and effectively divide the bathroom from the unsightly laundry room.
Materials
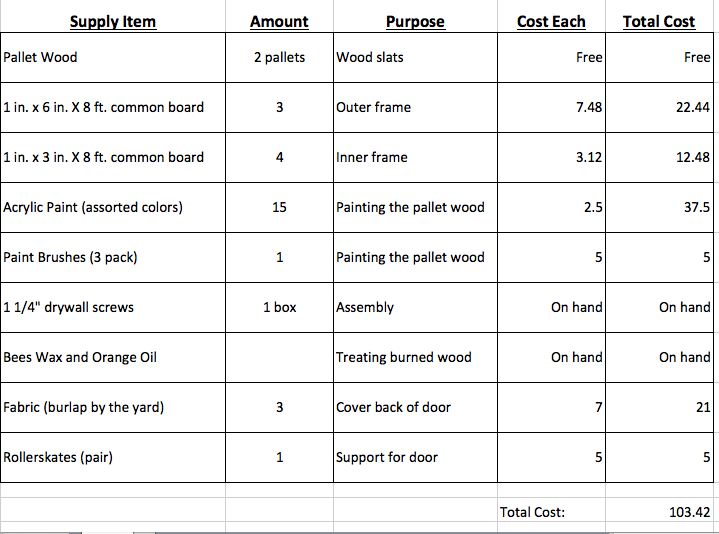
Early on I had thought it would be fun to use as many repurposed materials as possible. From that basis I was able to acquire the used pallets necessary from a local merchant for free and the roller skates at a local secondhand store. The wood for the frame and the fabric were purchased new. Most of the other materials that were used I happened to have on hand (due to my husband’s awesome set of tools). Most of the materials and associated costs are captured in Table 1. The cost was more than I had anticipated, largely due to the fabric that I used to cover the back of the door and turn it into a bulletin board.
Table 1.
Design

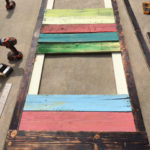
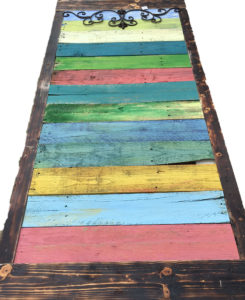
The design for the door went through several drafts and, in fact, continues to fluctuate a bit. While there were several sources of inspiration and examples of what the door could look like, I was limited by ability, materials, skills, and time. I had been concerned that a solid wood door would make the already small space feel that much more confining. However, I wasn’t able to find a good solution to that problem so moved on with building a colorful, solid wood slat door. The colors for the pallet boards were chosen based on other features of the home and layered to create the desired effect.
The frame I had originally thought to use was a 2″ x 2″ board with a 1″ x 3″ behind it to anchor the pallet boards. After doing a bit of research and speaking to people who actually know something about creating sturdy, weight bearing structures, the frame design was beefed up to a 1″ x 6″ board for the main frame to anchor all the pallet boards and a 1″ x 3″ outer frame.
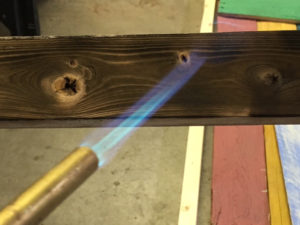
I didn’t want to add more color to the frame and risk the door becoming too busy. After trying a few paint techniques including: chalk paint, crackle paint, and staining, I still wasn’t happy with how the frame was looking. The new wood next to the old, beaten-up pallets was not looking terribly natural. It was at that point my son remarked that staining it even darker would make it look burned and that could be “cool.” His comment caused me to recall a Japanese process I learned about last semester called Shou Sugi Ban. While I didn’t burn the wood to the extent necessary to preserve it, the small torch I had on hand was enough to bring out the color, depth, and texture that I had been hoping for (and my house smelled like a campfire for days). After the wood was burned it was wiped down then bees wax with orange oil was applied to provide a nice, warm finish.
Assembly
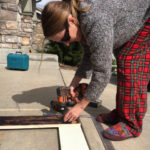
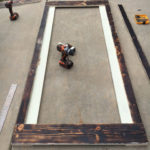
The outer frame of 1″ x 6″ boards was assembled first, followed by adding the 1″ x 3″ outer boards that would frame the painted pallet boards. All wood boards were cut with a chop saw and assembled using a drill and 1 1/4″ dry wall screws.
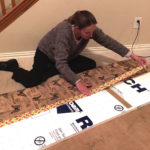
I didn’t want the back of the door to look like the underside of a table so decided to turn it into a bulletin board by using a 24″ x 69″ piece of foam insulation board covered by a burlap that I like. I basically wrapped the insulation board like a present and used duct tape to secure it. The board was then placed into the back of the door and secured with screws.
The last step was creating a way for the door to be supported and slide easily across the floor. A pair of traditional white, lace-up roller skates was found at a local thrift for $5.00. While exactly how to attach the skates was certainly a concern, the other issue was whether to leave the skates as intact as possible to give the door a bit more funky character. To test the idea, a strong snipping tool was used to cut the center strip out of the boot to make a place for the door to sit.
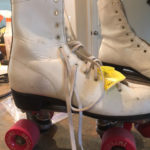
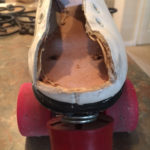
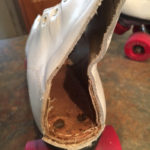
Having a stable and strong surface to attach the wheels securely to the door required adding another 2″ x 2″ board to the bottom. All in all, this was the most challenging part of the process and required some heavy lifting and maneuvering assistance from family members.
Wrap-up
The door is now in the bathroom/laundry and slides easily across the floor with nothing but the roller skate wheels for support. I’m still not sure if I would prefer using only the skate wheels and not the white leather portion, but it would be difficult to undo a change like that so I figure it can stay this way for a while and see if it grows on me. While the door won’t tip over due to the fact that it is currently wedged between a wall and the washer, it will need something at the top to maintain that balance. We will need to remove the shelves and install some cabinets to complete that part of the project, which is planned for the near future.
My family was a huge help throughout this project, particularly my all-knowing and ever-resourceful husband. There was a lot of idea-bouncing and head-scratching going on at my house, and I can’t thank them enough for their help and patience.

1 Comment. Leave new
I really like the aesthetic that you ended up with. The roller skates really put an interesting spin on it! You mentioned during your presentation that the drier is very loud and that the insulation helps dampen this noise. Have you thought about getting rid of the gaps between the door and the wall/ground to further eliminate the noise? That way you could eliminate the noise even better! I’m glad that you got the opportunity to make this project through this class!