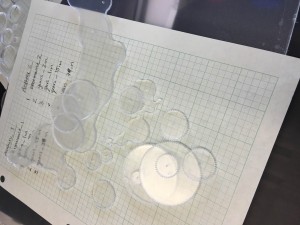
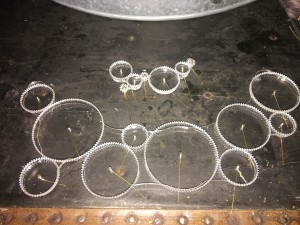
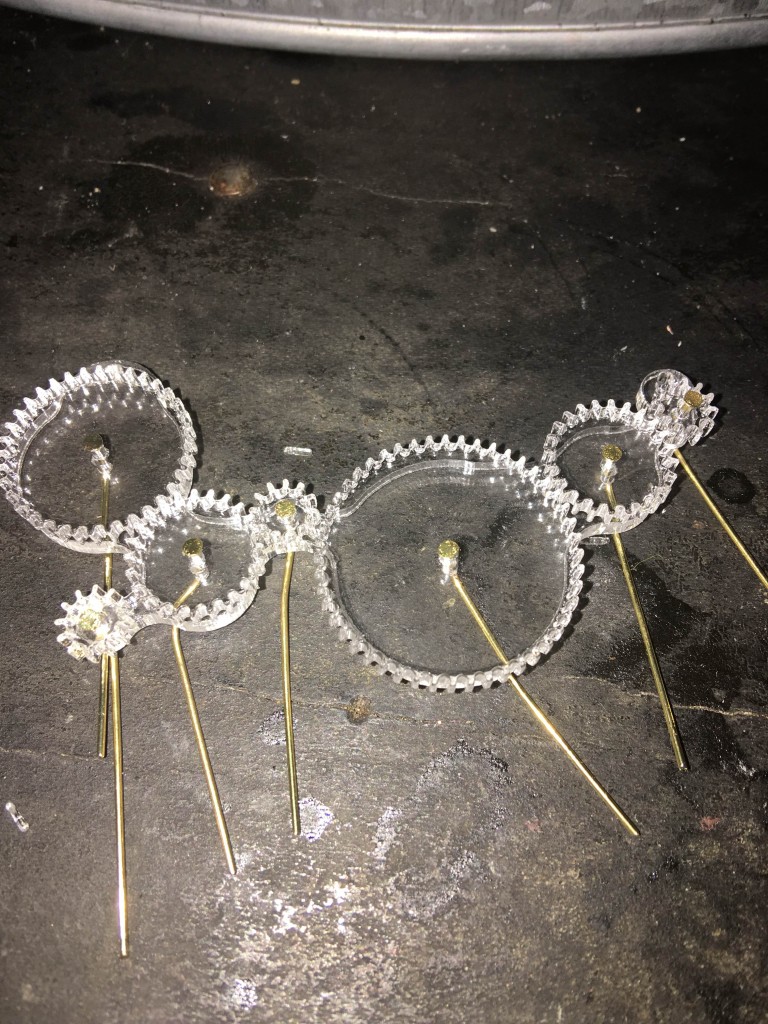
With the expo in a little over a week I have been moving beyond prototyping. I have been making my designs with cardboard to prototype. This week my head pins finally arrived and I cut my designs out of acrylic. I have also determined that I will be cutting scrapbook paper using the laser cutter to add color to the back of the clear gears.

Issues that need attention this week:
- Cut holes to actual size of head pins (specs said they were .04 in acutally .0275 in)
- Redesign base mount to account for material loss
- Attach paper to back of the gears
I am so far pleased with the design, but it needs some slight adjustments so that the gears turn more easily. They are misaligned enough to need some simple adjustments. In the pictures shown the head pins are not finalized, but merely holding the gears in place.


3 Comments. Leave new
[…] Weekly Update (4/13) […]
How have you enjoyed designing/making gears? My project involved a lot of gear design as well and it was a total pain in the neck, especially with the poor tolerances achieved by 3D-printers. Perhaps the laser cutter has treated you better though. What did you find was the most critical tooth design parameter to make them rotate smoothly? I’m curious because I want to eventually develop a code that is capable of designing gears/gear trains while also adjusting for printer tolerance in the most critical dimensions. Hopefully I’d be able to use the code to make my own cool mechanical jewelry without worrying about failed prints, especially if I have them printed out of gold/silver on Shapeways!
Either way, gears are awesome. Good luck!
I based all of my gear tooth design off of existing products. I tried to do it from scratch multiple times and eventually discovered that the measurements from McMaster Carr really helped me make working gears.