Last week was a lot of purchasing, planning, designing and prototyping but no building, this week I have been mostly building. I am glad I started because I ran into a lot of issues with my build and I think I am close to solving them.
I started by putting the two glass pieces together using the silicone:
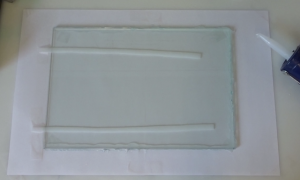
Before doing so I had to make a setup to make sure that the glass and the cutting pad are fixed in place when I am applying silicone. As shown in the picture: pieces of paper to avoid scratching the glass are out on the cutting pad. Both are taped down to the table to ensure that they are fixed.
The bottom glass panel is also tapped to the sheets of paper to be fixed
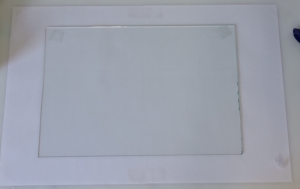
.
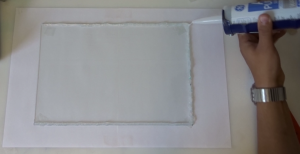
Applying silicone: the clear silicone looks a lot better than the brown one that I have used before. Now I know that it needs at least 12 hours dry/cure before I do the leakage test.
Unfortunately that two glass panels I got from Mcguckin were not exactly the same size, that caused a lot of problems for the assembly and the build quality down the road. Als
o the edges were very sharp and very jagged so I had to sand them down. The sand paper I used was not ideal so this time I will use a coarser grit to speed up the process of sanding.
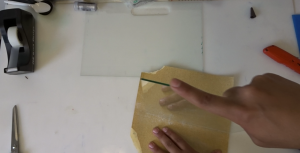
I forgot to tape the spacers down before I apply the silicone. I will be careful next time :).
Since the two glass panels were not the exactly the same size this caused me to move the top panel around a bit to align it to the bottom one. This caused the silicone on the edges to be of inconsistent thickness. This didn’t affect the sealing but it made the silicone non uniform. However this will be hidden by a frame.
Sealed or leaking test: The water was contained without any leakages for a day.
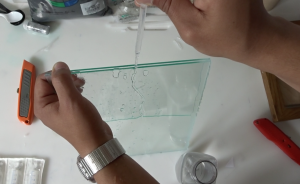
Running into an issue: After I did the leakage test I drained the water and attempted to put the sand in the frame right after that. I got into problems because the glass was not completely dry when I poured in the sand. So the sand got stuck. I should have allowed some more time for the glass to dry before putting in the sand.
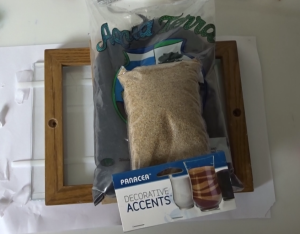
Spacers issues. The black sand that I bought last time is has coarser grains so I need to find wider spacers to have a wider frame.
That’s all, I know I am under a time crunch specially with other classes but I will keep pushing on this project and try to get it done before the expo.

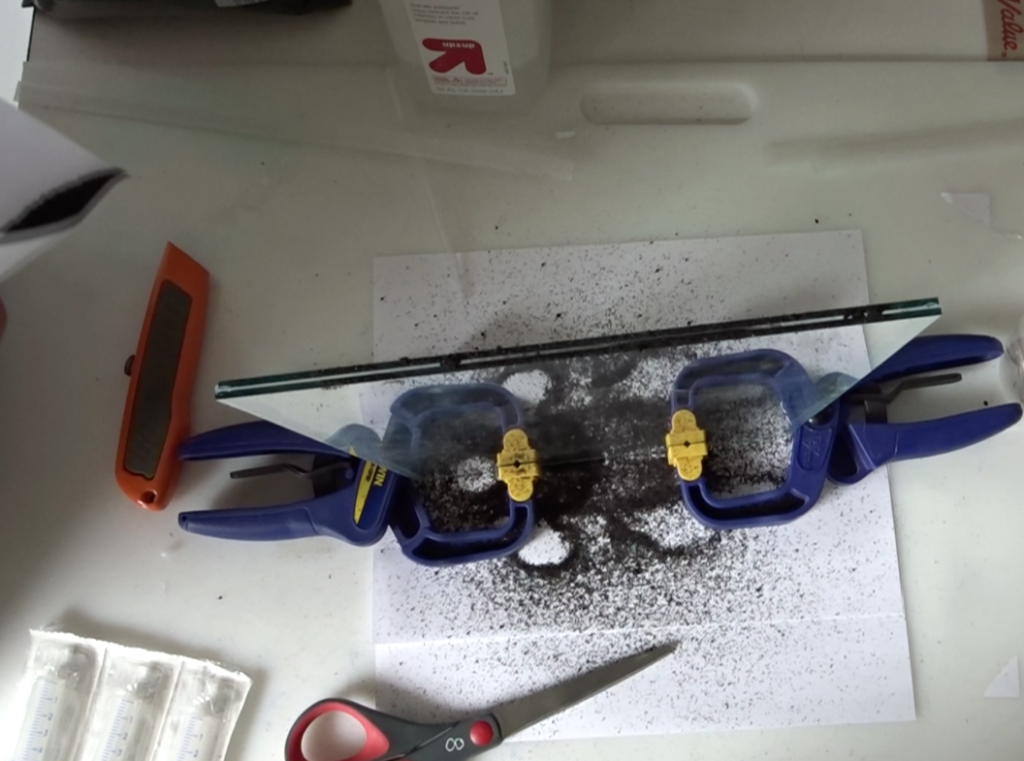
 (April 13th update)
4 Comments. Leave new
https://www.youtube.com/watch?v=SZZCq5zgQzQ
watch it carefully and tell me what you think – what is the powder?
This is awesome. You have a well thought out construction process. how exactly did you put the sand into the frame? it’s hard to tell from this process pictures. Would you stain the frame or try to add more complimentary colors to pair with the sand you’ve chosen? was there any way to have made the glass sheets the same size?
Wow this is the most detailed update I have seen. I really like how you have pictures of each step of your product. It seems as though you are in a good spot to be able to finish before expo. What colors and types of sands have you purchased to be putting in the frame? Would it be better to purchase a finer type of sand rather than having to expand the spacers?
Looks like you have had the typical ups and downs, but have it under control. I really like how you have documented the process so nicely with photos. I know your frame is recycled, and was wondering if you plan on adding a different finish to it to accomplish a specific aesthetic. I feel like your possibilities are endless on that front. I was also wondering, and its a complete shot in the dark, if filling the frame with oil would make the “picture” cooler as the sand would fall much slower. If you used mineral oil it would look the same as water. However, I wonder if it would make it too slow, as in not moving. Good luck on finishing up. Looking forward to seeing it at expo.