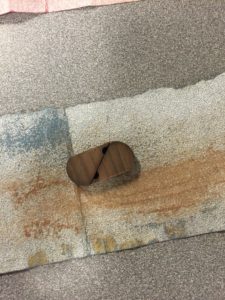
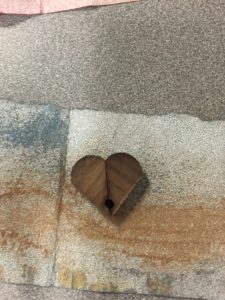
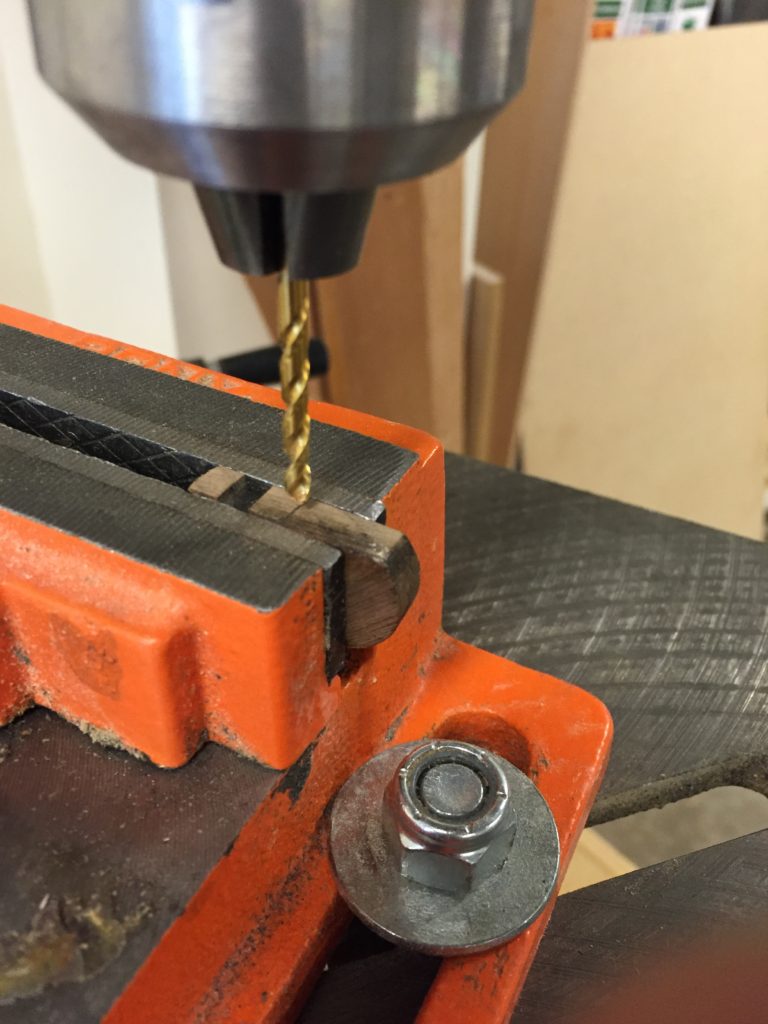
My next step in this process is to drill the center hole, so that’s what I worked on this week. I first thought that it would be possible to clamp the part to the side of the table and drill the hole by hand. Nope! I learned real quickly that I was unable to create anywhere near consistent holes (diameters were all over the place not to mention location and angle of the holes). It was a real nightmare and almost ended up with a couple of holes in the table (roommates were not super stoked with me). After a bit of thinking, I deduced that the main reason for this was that I was trying to drill with the grain. This means that I was trying to drill along the grains of the wood. Because some are much harder than others, the more dense grain will try to push the drill bit around towards the softer grain. My solution to this was to use a drill press and a clamp.
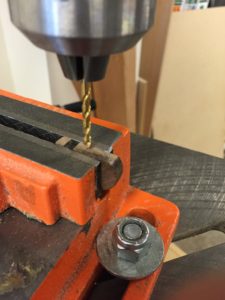
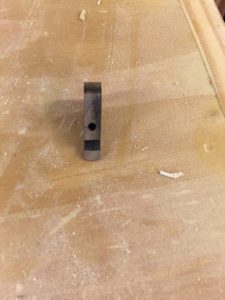
Even with this, the drill bit wanted to bend out of the way of the hard grains (damn you harder grains!!!!). So my solution to this was to drill a whole bunch and adjust the drill-press table slightly each time. Because all of the pieces came from the same sheet of wood, it was pretty consistent, and I only screwed up 3 or 4 to get it perfect. Before long I was cranking out lots of tiny holes that all had the same depth (you can limit the depth on the drill press). This is what they looked like.
So I was so excited that I got a part of this project working that I decided to try to make a prototype. It wasn’t super fancy but it twisted and ended up making a heart (ok, ok. it was only after a lot of sanding that it did)!
