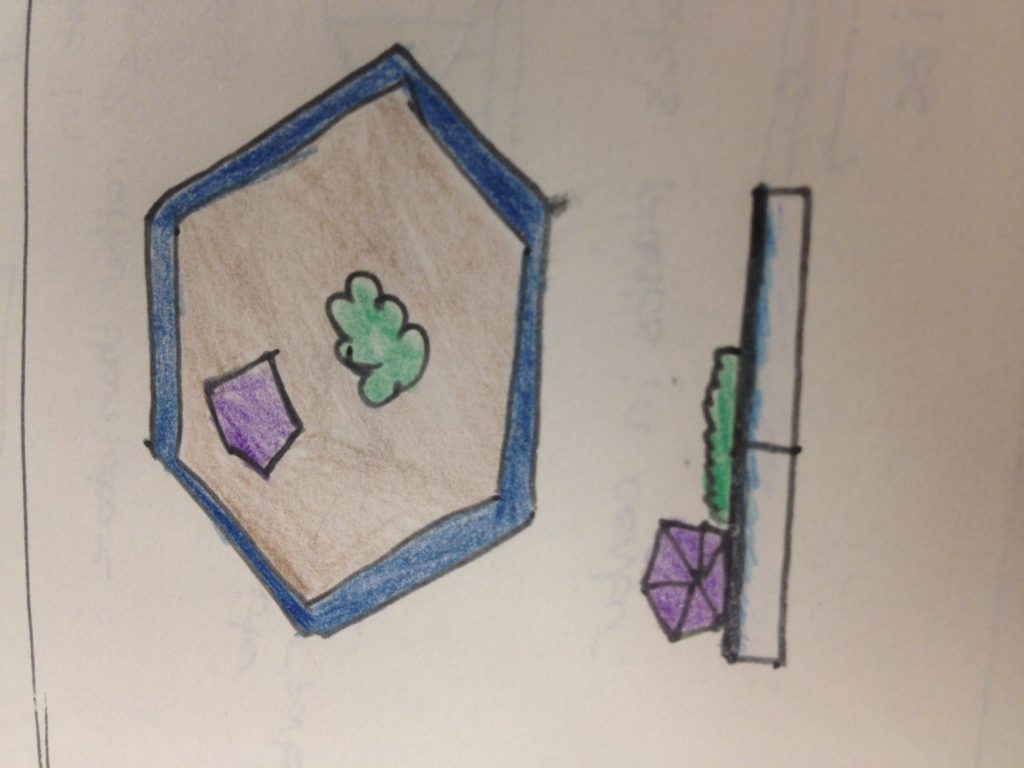
I wasn’t as productive over break as I would have hoped. I got sick, but I did get something done. I finally nailed down my design (yay!). I also built a couple parts of it and got everything else ready to 3D print. I haven’t looked at the electronics again, but I will as soon as I get the structure done. The featured image shows my current concept.

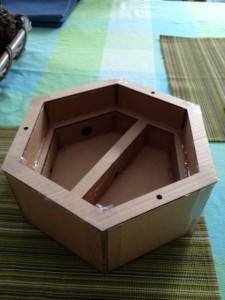
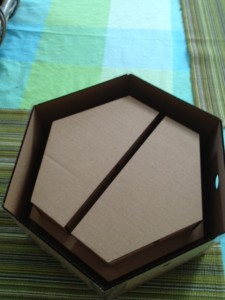
Here the mold for the base of the garden. I’m going to cast it out of concrete. I’ve just started 3D printing some inserts for all the holes you can see, so that concrete won’t fill them or flow out of them.

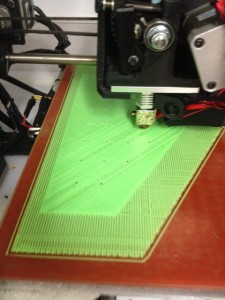
Half of the bottom of the base will be filled with water and the other half will house the electronics. A box will sit on top of the base and hold the dirt and plants. There will be a few tubes running up through the dirt that will protect the wires and the watering tube. There will also be drainage on one side that allows excess water to flow into the water reservoir. I’m also in the process of 3D printing that.

Slight change of plans, of course… The print completed, but the quality was terrible. The walls kind of peeled apart. I could potentially try to glue it together and clamp it, however it’s gonna look awful if I do that. Also, I’d have the same issue with the other half of the container. I’m looking into casting the thing out of resin instead. It’s a relatively simple operation, and then the container would be in one piece. I’m going to order some resin epoxy on Amazon.
As far as the 20th century design movements, I’m thinking that the desk garden fits best into minimalism. The base will be plain concrete. The rim of the dirt box will sit on top of the concrete. It will either be white, or green if I get the time to paint it nicely. I have a moss to plant in it, and maybe one succulent. None of the electronics will be showing in the front. A cord and button will be visible in the back only. If I get the time, I’m going to make a low-poly shape and fill it with LEDs. This light ‘box’ will sit next to the moss. The more seamless I’m able to make the final project the better it will fit the minimalist style. A quick google search for “minimalist planter” led me to some neat designs.


5 Comments. Leave new
I like the use of 3d printing, but have you considered using something that you can laser cut instead? This will save a lot of time and cost. Scrap acrylic is pretty cheap, as is cardboard and other alternatives that can be laser cut and assembled later.
Looks like you are making some real progress on this project. I am curious to see how you are going to implement the electronics next to the water container, hopefully the electronics are completely sealed off so the water doesn’t destroy them. You certainly have some design challenges coming up, but should make for an interesting fabrication process.
Good progress so far! The epoxy resin should be able to hold it back together. However, to keep the rest of it from peeling, I’d probably recommend painting the entire thing with some kind of paint that will be able to keep it firmly together but also repel water (kind of like nail polish… but something more profession than nail polish.) Some kind exterior enamel coat maybe?
Looks like you are making awesome progress! Can;t wait to see the final result it’s looking a lot better than I originally pictured it from your description!
One note on 3D printing: thinner 3D printed objects tend to not be water tight. If you are planning for your 3D parts to be interacting in an environment that involves water, keep this in mind. You may consider using the laser cutter in the ITLL if you would like to make a box around your 3D printed part. I would recommend getting on top of the electronics ASAP since they tend to be where all of my past projects have run into difficulties and set me back.