Progress:
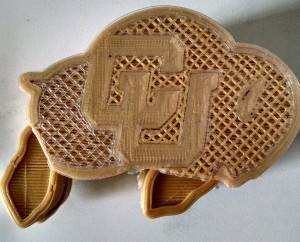
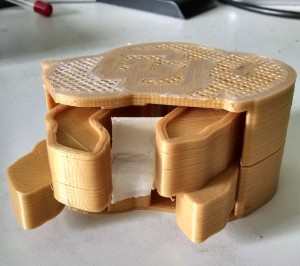
Ralphie II works well, though I accidentally broke off a small piece of it and replaced it with a bit of tape.


Here’s a small animation: Buffalo Snail!
Problems:
Progress on Ralphie III is going much slower than expected. I have decided that I want the buffalo’s legs to move in a somewhat natural gait. Four-legged, hooved animals tend to move in the following fashion:
State 1: Front Left – Forward, Front Right – Back, Back Left – Back, Back Right – Forward
State 2: Front Left – Back, Front Right – Forward, Back Left – Forward, Back Right – Back
I spent several days trying to design a mechanism that did not utilize gears or linkages to move the legs. The mechanism was something like a multi-tiered windmill. That was a bad idea. It was an immense waste of time and very frustrating. The concept was initially going to use gravity to bring the leg back into place, but doing so drastically increased the likelihood that the device would lock up or go into a nonfunctional state (over-rotating). Also, since there is very little room to work with, both sets of legs and the rotating shaft are all have different pivot points, and each leg moves in the opposite direction as its neighbor, there were significant interference and manufacturability issues.
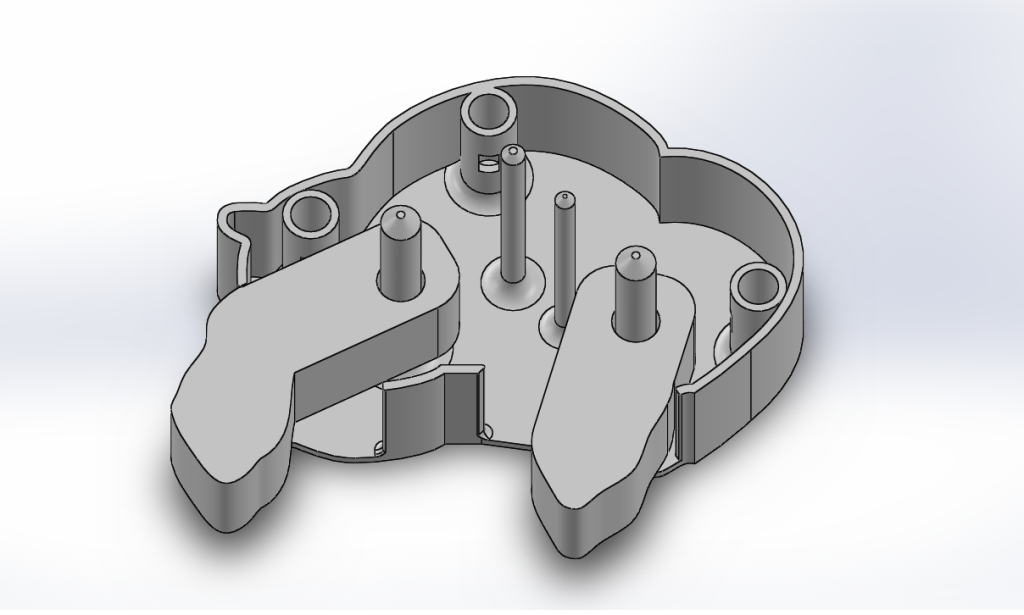
Moving forward, the design will user spur gears. The teeth of these spur gears will be simplified to accommodate FDM printing tolerances using general guidelines.
Below is the current chassis for these gears.

Aesthetic Considerations:
I’m not sure that I will ever be able to classify this project into any western aesthetics. However, I would say that it is highly influenced by automata or Karakuri puppets, which come from 18th century Japan.
Rather than sticking legs on a logo, my goal with this project is to “bring the logo to life.” In order to do this, I’ve made very specific cuts and sweeps on the logo to make it look just like the logo from the top, and I will also keep all of the mechanical components hidden/encased.
As far as the DIY nature of the project, each of the components is uniquely identifiable. If possible, I want to continue this in order for easier assembly for anyone who wants to print their own kit.
***
Onward we go!

