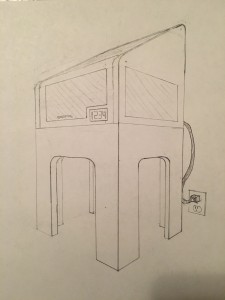
I spent most of my spring break making progress on this project (yippee), and while it wasn’t an exceedingly fun week, I’m satisfied by the project’s status. As a reminder, I’m working on a 3D printer that won’t look like crap sitting in the corner of my living room. Most DIY printers and kits (i.e. affordable 3D printing solutions) are a mess of rods, screws, and lots of wires, and I’d like to package all of that in an aesthetically pleasing way such that it won’t be a total eyesore in my house or apartment. This project is applicable to anyone who wants a 3D printer, but doesn’t have a dedicated workshop to put it in. My original “aesthetic” design is pictured below.
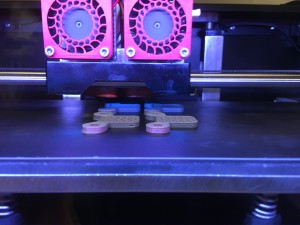
I started working first on the printer aspect of the project, as I needed to size my stand/enclosure based on the printer itself. I’m working off of a Prusa i3 design (http://reprap.org/wiki/Prusa_i3), and am sourcing all of my components individually rather than buying a kit. These printers are largely “self-replicating,” meaning that you can print a lot of the components with another 3D printer, which I’m doing with the MakerBots in the ME graduate design studio. I’ve printed nearly all of the plastic components that I need (missing only the extruder assembly). Probably about 10 hours of print time all put together. The feet of the “y stage” can be seen printing and completed in the images below.
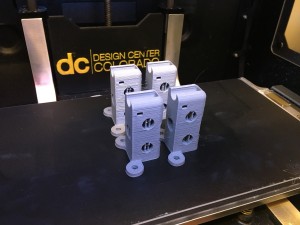
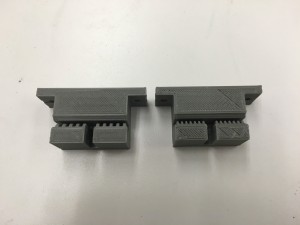
All of the printed parts are based off of models found online (in the most annoying and difficult “OpenSCAD” format – look it up), but I’m modifying them to best fit my model. To do so, I’m building each part “from scratch” in SolidWorks and then exporting an .STL file to the printer. Some modifications include adding “wings” with bolt holes on the feet seen above, and creating a new tooth pattern in the belt holder used to tension the timing belt on the Y stage. The first part in the image below (with the wider teeth) didn’t fit the GT2 belt I’m using, so I designed and printed the part seen in the adjacent component.
Slowly but surely, I’ve purchased all of the mechanical components for the printer and have started putting it together.The biggest struggles that I’ve encountered with the Prusa i3 design (as well as nearly all of the other DIY builds out there) is that all of the parts are metric, which is pretty tough to source here in the US. The hardest part to find (without paying too much for the part and its shipping) are metric threaded rods, which I decided to replace with imperial threaded rods. I substituted 3/8″ rod for M10 thread, and 5/16″ rod for M8, along with the appropriate nuts and washers. Unfortunately, I’m finding that the sizes of metric and imperial nuts and washers are very different, so parts designed for metric fasteners are far too small for the matching imperial size. What a pain.
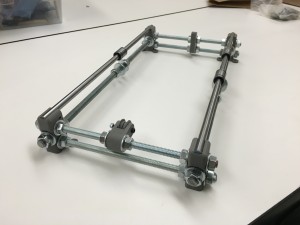
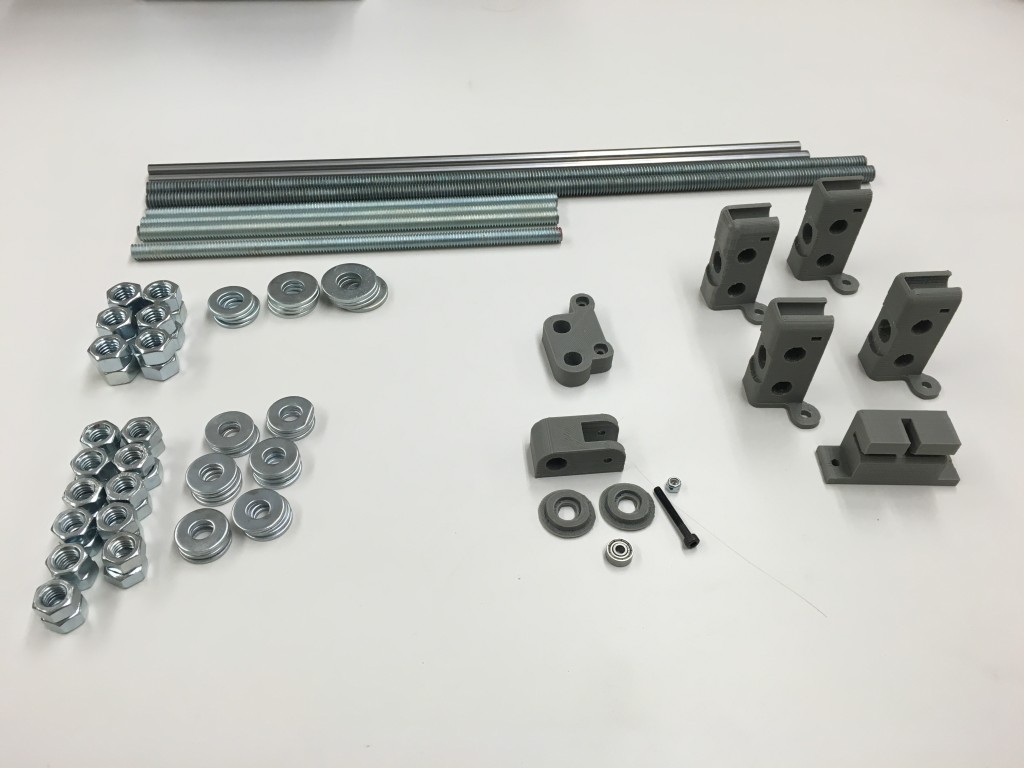
The images below are of the “Y stage”, which moves the printer’s build plate forward and backwards underneath the extruder. I’ve included a BOM picture as well as the semi-completed subassembly.

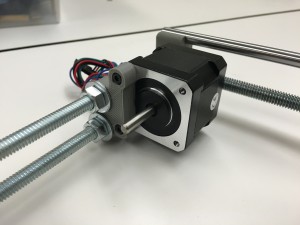
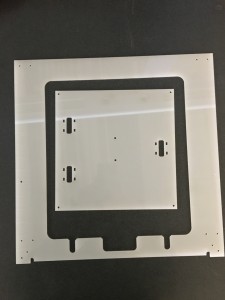
The last part that I’ll share for now is my progress with the frame and build plate. Most Prusa i3 designs are built using a single aluminum “frame” which is about 15″ x 15″ x .25″, which I really didn’t want to pay for. I found a piece of acrylic at McGuckins in their now-eliminated scrap pile (seriously, they got rid of their discount scrap pile. lame.) for $3. Using the laser cutter in the ITLL, I cut out a frame and build plate as seen in the image below. The build plate will be zip-tied on to the bearings seen on the Y stage, and will hold a heated platform and glass build plate. Most setups also use aluminum for this piece, and I’m worried that the acrylic will melt, but for now it will give me a good mechanical stand-in to test the mechanisms on the printer.
More on the construction of the printer’s base is coming up…

3 Comments. Leave new
This is a very impressive project! I would say this is a pretty intimidating project for most people, but seems like you have a very good plan on how to get it all done.
I’m pretty impressed so far. This is a project that I’ve always wanted to do but it’s always intimidating to me. It looks like your coming along nicely with the hardware, but I’ll be interested in seeing how the programming and setting up the motors progresses.
Your project looks like it is coming along nicely. I agree that most of the DIY printers don’t look so great, so I like your vision for this project. It seems like you have a solid grasp on the mechanical aspect, but I am curious as to how you will be handling the software side of the project.