“Ralphie I” was just a simple snap fit box. See: http://www.thingiverse.com/thing:1384028
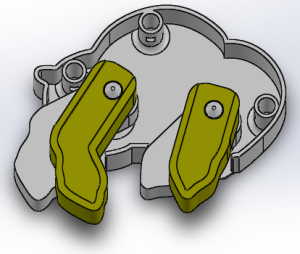
“Ralphie II” is a snap fit box with four movable legs.
“Ralphie III” will integrate the mechanism that moves the legs. The internal ends of each leg will be modified to incorporate this mechanism.
***
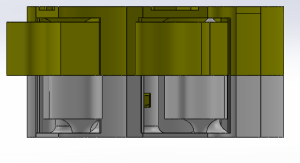
Solidworks Ralphie II:
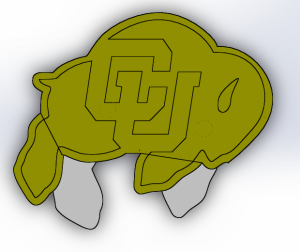
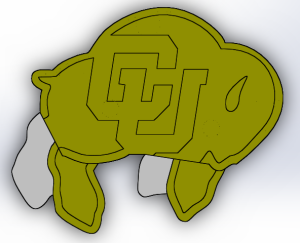
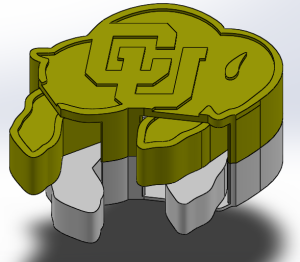
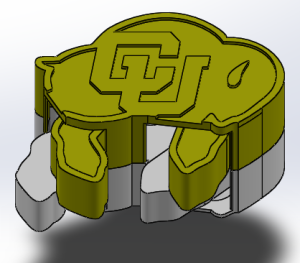
Printed Ralphie II:
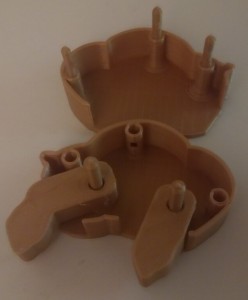
Gold PLA print at home (Rostock Max) – tolerances needed to be loosened as compared to ABS. The material constraint I mentioned in my last post has become relevant.
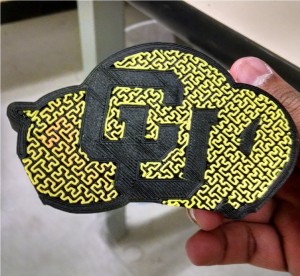
Makerbot dual extruder experiment (Success!)
***
Now, let’s get the mechanism portion of this project working!

5 Comments. Leave new
This is amazing! I love the progress you have made so far and where you will be taking it! I’m curious how you plan on implementing the instructions portion of the Ralphie. Some toys have it molded/imprinted into the body of the toy and if you have enough space and few words you might be able to have them 3D printed onto the inside faces?
That’s a cool idea! I could definitely do something like that. Alternatively, I’m considering numbering or labeling parts and putting together a short assembly guide with a bill of materials. Also, a video wouldn’t hurt!
Definitely excited about this progress so far though. I’m going to go home over break and crank out iterations. Hopefully will get the mechanism part working too! Fingers crossed.
Are you planning to use a motor to eventually drive the legs, or will it be hand cranked? If the plan is to put it up on thingiverse for others to download and print, it could be limiting if they had to have the same motor that you designed it for. Since it is all being 3D printed, you could get really creative with integrating the gears straight into the legs and chassis. I look forward to seeing the printed version of your Ralphie II!
Fully mechanical!
Great inghtis! That’s the answer we’ve been looking for.