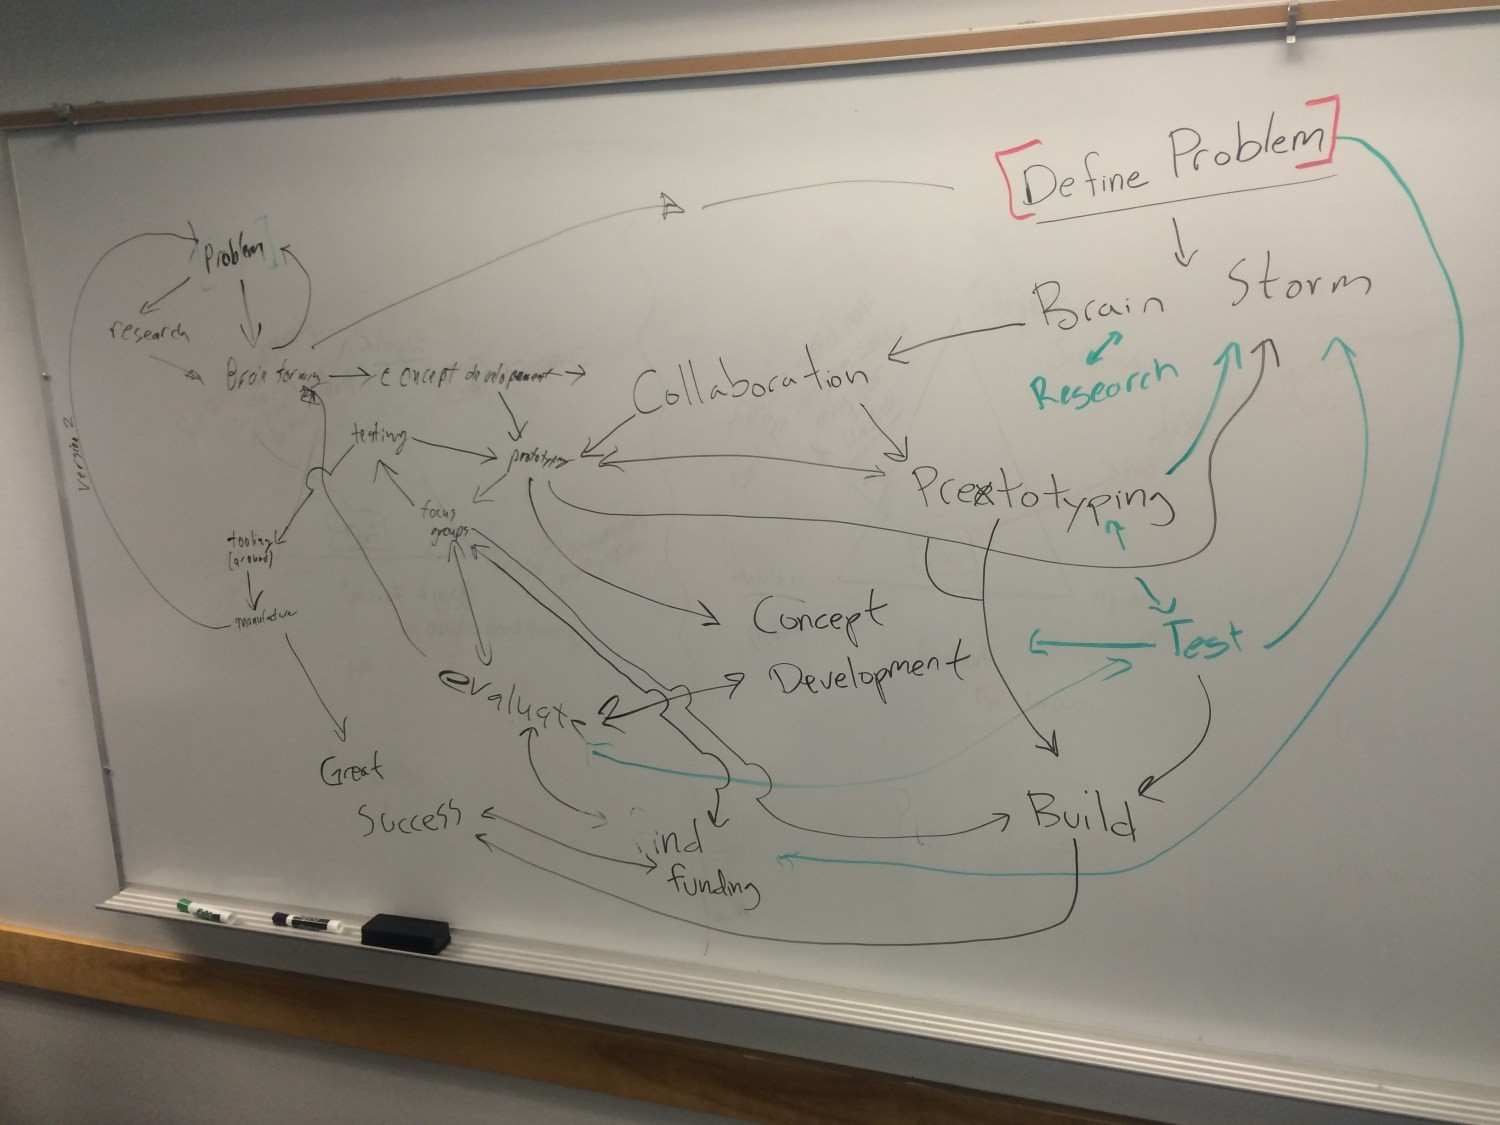
Figure 1; Design Process (Created By: Erick Pena, Gardner Nichols, Mathew Tabor)
In class two of my teammates and I created an interpretation of the design process as seen in Figure 1. The process that I followed was very similar to Figure 1 as you can see that the processes is not very linear as some people describe it. The problem was defined in class, we had to recycle and give a new life to remnant material or anything that was obtaining dust. To help me brainstorm ideas I looked around my apartment and found a few electrical components from a few of the classes taken at CU boulder. I then started to do research of what to do, I came across some interesting ideas as seen in Figure 2 and Figure 3.
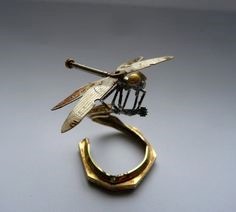
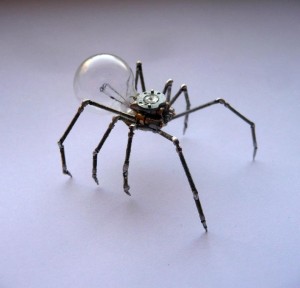
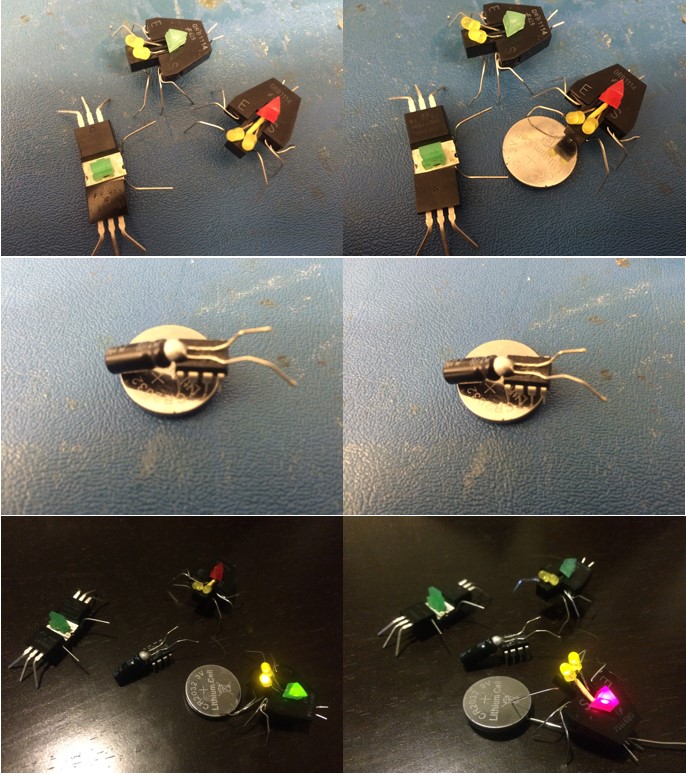
My initial idea was to create a firefly that would light up with an LED and put it in a habitat. I then started by collecting all the electronic components that I abating from my apartment and I also from the ITLL prototyping room. I found some very interesting shaped LED’s and other electronic components and started creating spiders and my firefly with LED’s as see in the Figure 4.
The hardest part was creating a habitat where I could place this little guys in. I went into the ITLL prototyping room to brainstorm for Ideas and found a rectangular box that was printed in the ITLL small 3D Printers. The Idea came to me I could 3D print the habitat, at least the frame. I started by sketching out and idea of how I wanted everything to look and get put together shown in Figure 5.

The design processes to creating this went from paper to solid works, the final design is seen in figure 6. From experience printing horizontal limbs (Extrusions) in the lulzbot taz 3D printer can be difficult and hard to clean the supports off.
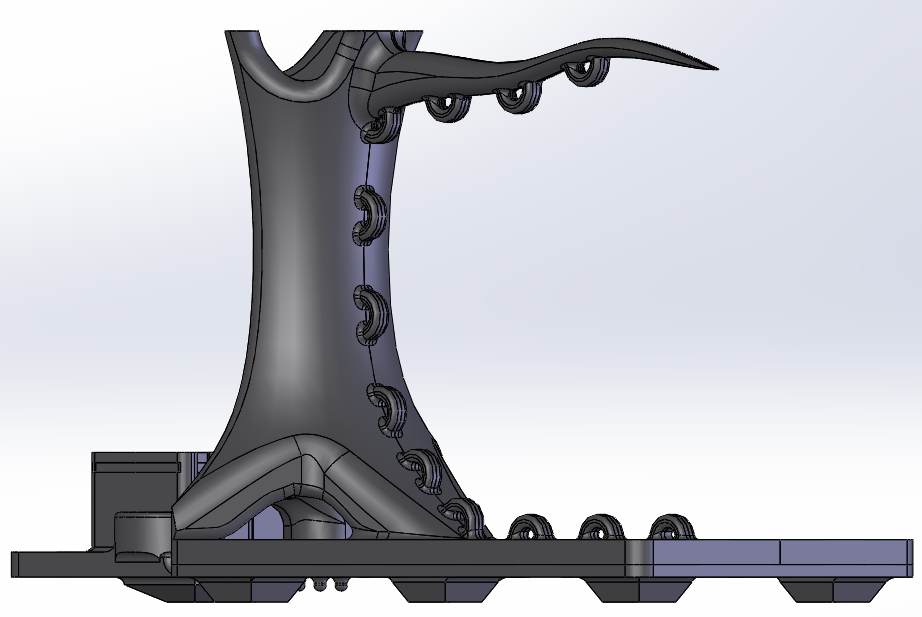
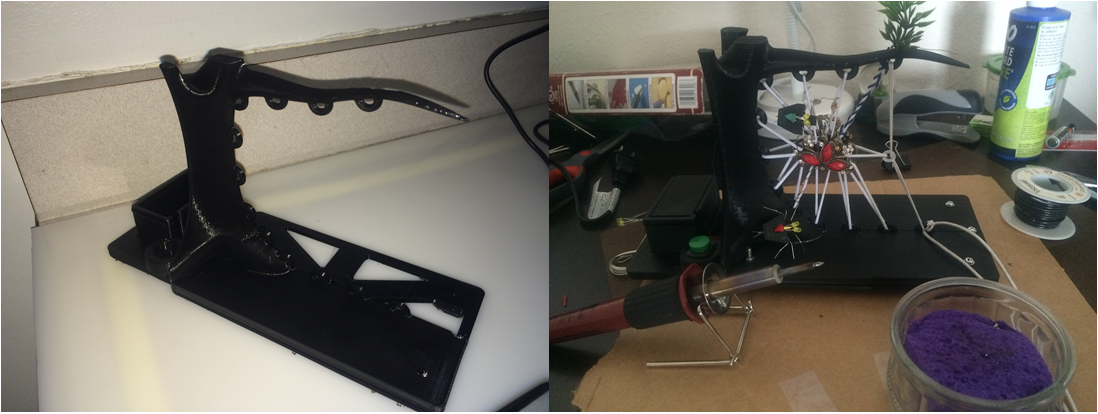
The tree was then cut in half so that it would take less to clean and also take less time as seen in Figure 7. Another thing to notice is the hole that extends from the bottom of the base to the top of the branch. This is to reduce the amount of visible wiring that will then connect to the firefly.
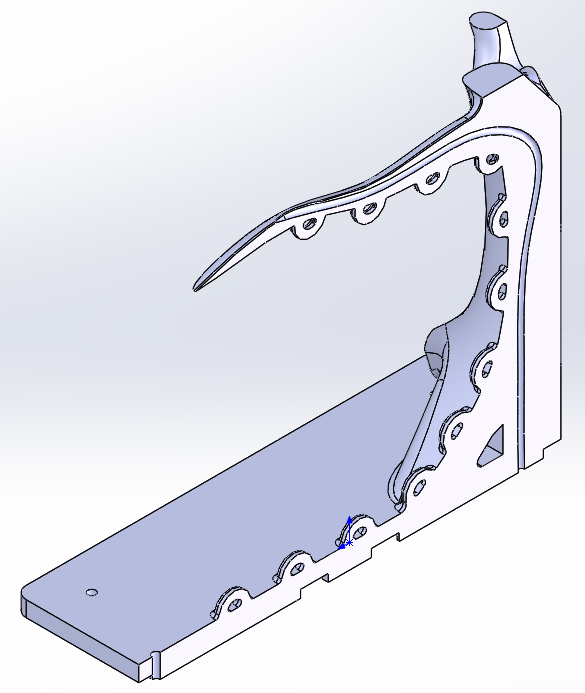
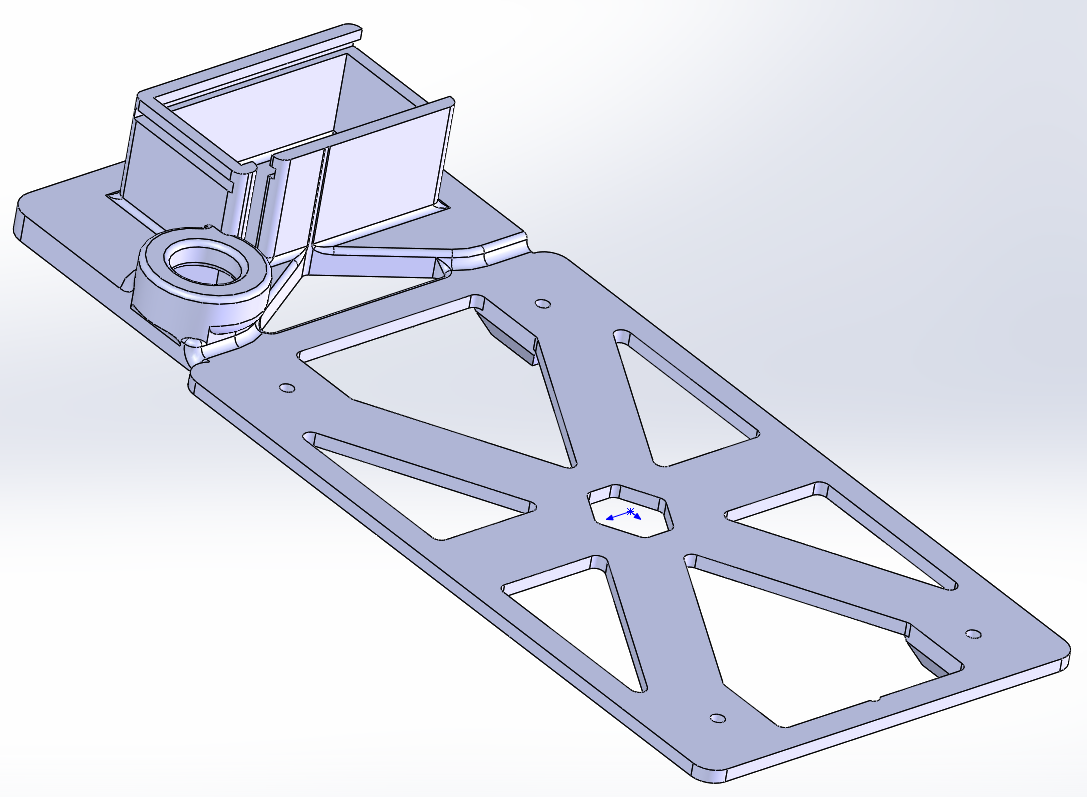
In cutting the tree in half created another problem how will the two halves of the three stay together? The solution to this question was to create a base that would combine the two parts together as seen in Figure 8. The shaped cut outs are to place the tree base together without shifting in the Y and X direction. The holes are to stop the Z direction, and make the tree stable. On the back is a 9V battery holder and a place to put a button that will turn the LED’s on.
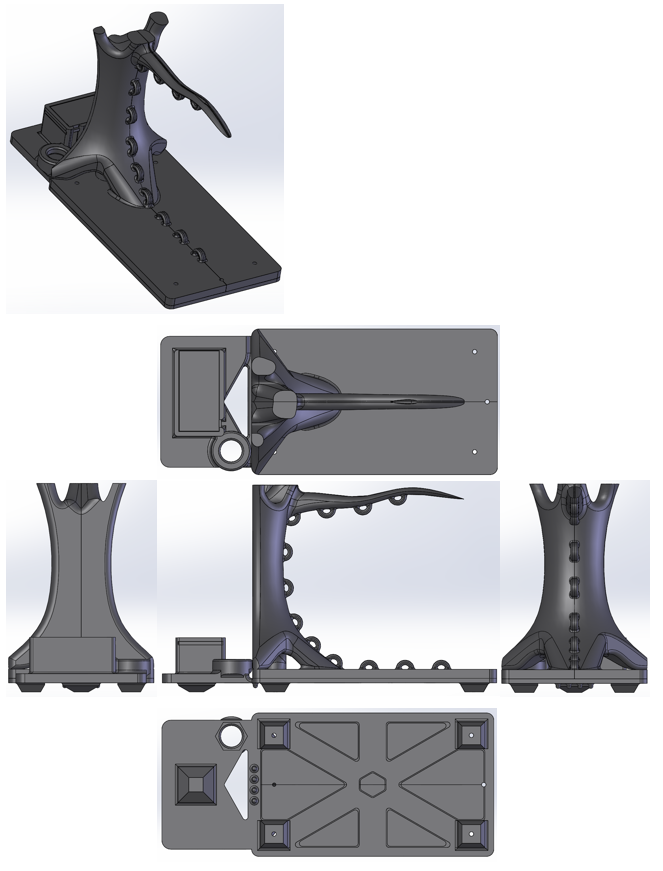
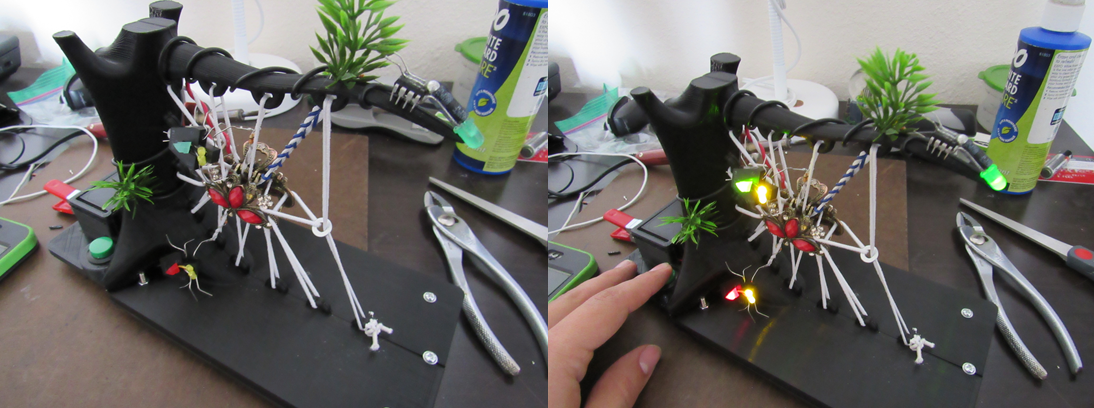
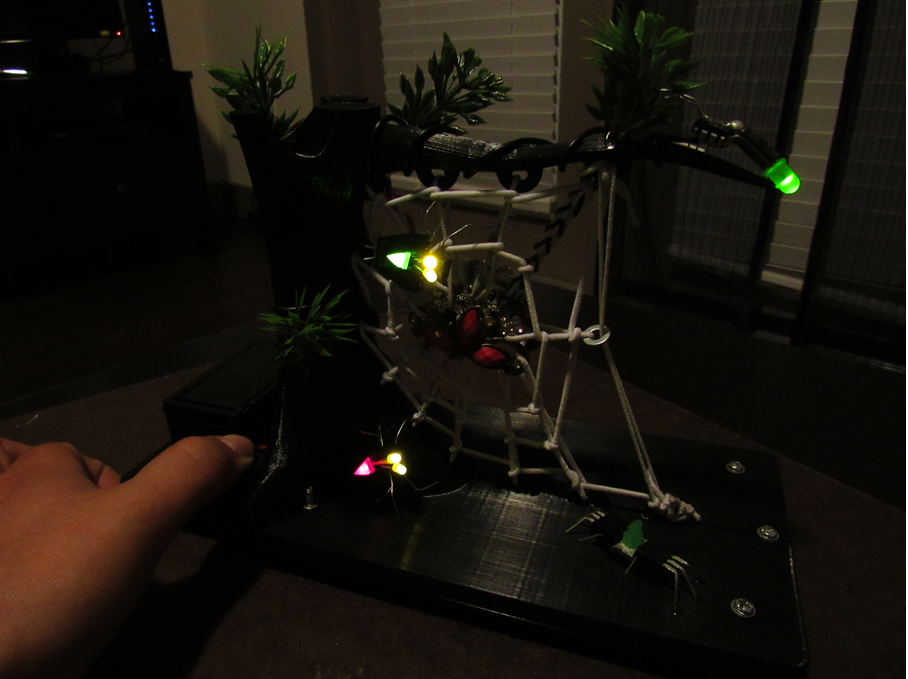
In Figure 9 is an all-around set of pictures showing the final design and shows how it is all put together. One of the goals is to reduce the amount of visible wire to connect all of the components.
Building
1st step is was creating the firefly and the spiders with functioning LED’s and a battery that provides enough energy to power 7 LED’s.
2nd step is to create a habitat with manufacturing and assembly intent. Also 3D print parts that will reduce the time and cleanup.
3rd assemble the 3D parts and secure them with screws of your choose of size.
4th with string weave it back and forth between the holes provided in the design
5th set up the placement of each spider and firefly then soldering one component at a time and checking to make sure the LED’s still light up.
6th finally add decorations of your choosing.





32 Comments. Leave new
That’s really cool! That’s a lot of 3D printing to do. I love the firefly! That’s an awesome way to blur the line between technology and nature. I’m really impressed with the meticulous work you did. I probably would have gotten frustrated and given up working with so many small objects.
Awesome use of 3D printing, and really impressive solidworks designs. Impressed by the effort put into this design.
That’s really well done. I see you were part of our concept map. Glad it didn’t go down like that.
I really love how this came out, it reminds me of a lego scene, like on the box when you buy it. You know, they always have whatever you buy (say a car) set in an entire city scene that makes the car way cooler than it is sitting on your floor? Well this is like that scene! I love the playfulness of the entire piece, even the bugs are not scary because of their big light up eyes. This developed into so much more than your original project (the bugs alone sitting on the battery), but it turned into a complete project (a bunch of random things so small need something to tie them together, which you nailed!). I also like the gems in the middle, that adds to the lego thing for me; I’m thinking of lego Indiana Jones. I’m also impressed you got the button to work within the 3D printed piece, it looks great!
I liked that your presentation had a lot of transitions, although at times i thought it could be slightly distracting as well. There are a lot of detail involved in your project, with great colors and a personal style. Do you have any intended use for this project when you’re done?
Interesting sculpture. It reminds me a bit of Playmobil toys. The 3D printed ‘habitat’ was a clever way to hide the wiring a power source.
Very creative use of 3d printed parts and electronics. The aesthetic works together great!
I like how you incorporated hiding the wires into the design process. Really cleans it up. Did you consider using the wires to power the system as the web?
I love the concept and I think it turned out really well. The combo of recycles materials and custom 3D prints works really well together.
It turned out great dude! When you were first telling me about your project I envisioned just the spiders and fireflies. The tree and web add a really nice touch
I love the cool use of old electronic components. I wonder if there’s some cool way to use EL wire. Good job!
Fun little Halloween decoration. I would have liked to see more upcycling in this project. But as a warm-up project, I’m sure the cad and printing was time well spent.
The whole thing looks really good, I’ve liked the LED part of the bugs its a nice touch.
I love the creatures on their own too, away from the habitat. The tree turned out well, the whole thing looks like troll dolls should live there too.
This is really unique and looks great! I think adding some additional light (maybe backlight it) could develop a spookier aspect to it.
This reminds me of a Lego kit, I like that you 3D printed it.
Interesting project. Good use of 3D printing. The wiring ended up looking good. Maybe have fishing cable for the wiring. It will look more alike the spider web
I think the habitat turned out great, and the “spiders” look very good as well. I think that in the future, it could be really cool to play up the electronics a bit more in the habitat.
One of my favorite projects so far, I impressed how much detail you had given the project. The little up-cycled bugs by themselves are very impressive. I only wish if you used a different color for either the base (tree) or bugs because it is kind of hard to see them.
Really cool project, I like the use of all the electronic pieces. Nice work making a 3D printed component.
This is sweet! the recycled electronics look great as bugs and your efforts into fabricating everything is very evident. I think it would be really cool to see a whole community/environment build with this aesthetic.
Great reuse of electronic components! They definitely look life like. Also cool design with the 3D printing and good reuse of material from another class. I also really like that the LED bugs light up! It adds a great dynamics component.
It turned out really well. What do you plan on doing with the final product?
Nice use of the 3-d printer! I wouldn’t have thought about using it for this type of project. I also really like how you arranged the insects on the model!
I didn’t realize you CAD’ed up your whole tree yourself, I thought that was just a grabcad download. Way to go, that’s a lot of work but it came out great. I’m surprised the print came out so well, awesome you stuck with it, the result was worth it.
I’m impressed with your SolidWorks design for the tree – looks really whimsical and natural-looking. Very clever to print two halves with internal wire routing.
This would be a really cool halloween decoration. Awesome use of 3D-printing. If you put the instructions and .STL files on thingiverse, I bet it could be popular!
awesome future toy idea to get kids involved with engineering. I would suggest looking into selling this idea it could be pretty popular kind of like leggos!
That is terrifying and amazing. I will never look at electronics the same way again. I think coloring everything and how well you color coded everything was amazing. You put in a lot of effort into this project, good job. Your CAD is well done.
I really dig the recycled electrical components. You should find some 28 pin IC’s to make into centipedes.
Really nice job with the habitat for the insects! The final design is really clean.
I love how you created an environment for the led bugs! That was a really cool way to tie them all together into a central theme and design! Very beautiful and amazing design!