Introduction
As COVID-19 continued to spread forcing the campus to close, I grew more worried about how I would complete my project. Thankfully, however, I was able to fully fabricate it with the use of my Dad’s tools at home. There’s no doubt the final product would’ve turned out better had I had access to the resources provided by the university but I’m glad I was able to create and finish my project using my own resources.
Timeline
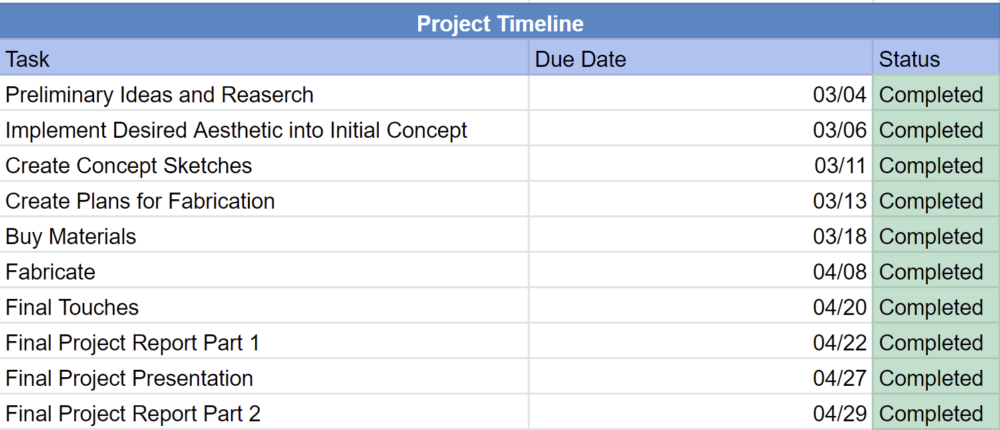
Design Process
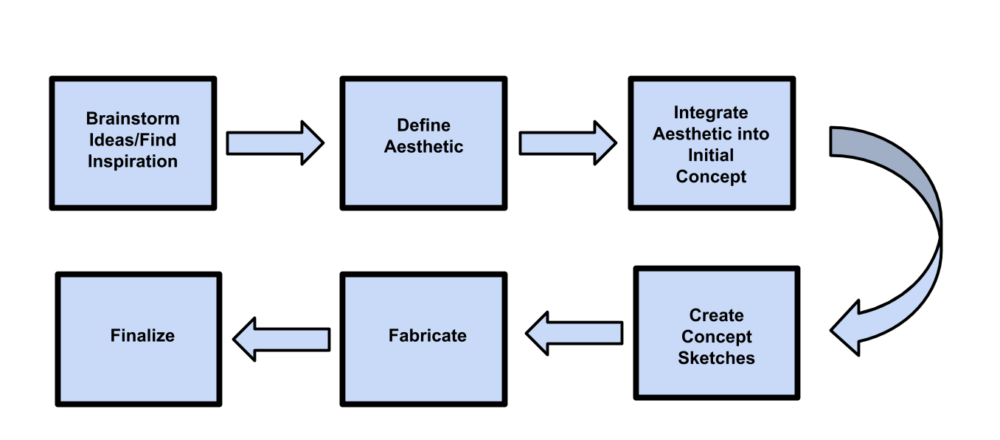
My design process for my final project was overall very linear. I didn’t encounter any issues while designing and fabricating my final product. There wasn’t any need for iteration as my final product achieved what I had already planned for. Like most project beginnings, I started by finding inspiration and doing research. I eventually stumbled across an idea for a DIY tripod chair which is when I decided to design my own. After deciding on my project idea, I wanted to implement an aesthetic that could seamlessly be integrated into my concept but also carried some meaning as to my personality. I settled on a “Camping” or “Utilitarian” aesthetic since I enjoy camping and it seemed fitting for a tripod chair. Next, I drew up some concept sketches and planned for fabrication. After fabrication, I was happy with the final result and finalized my project.
Fabrication
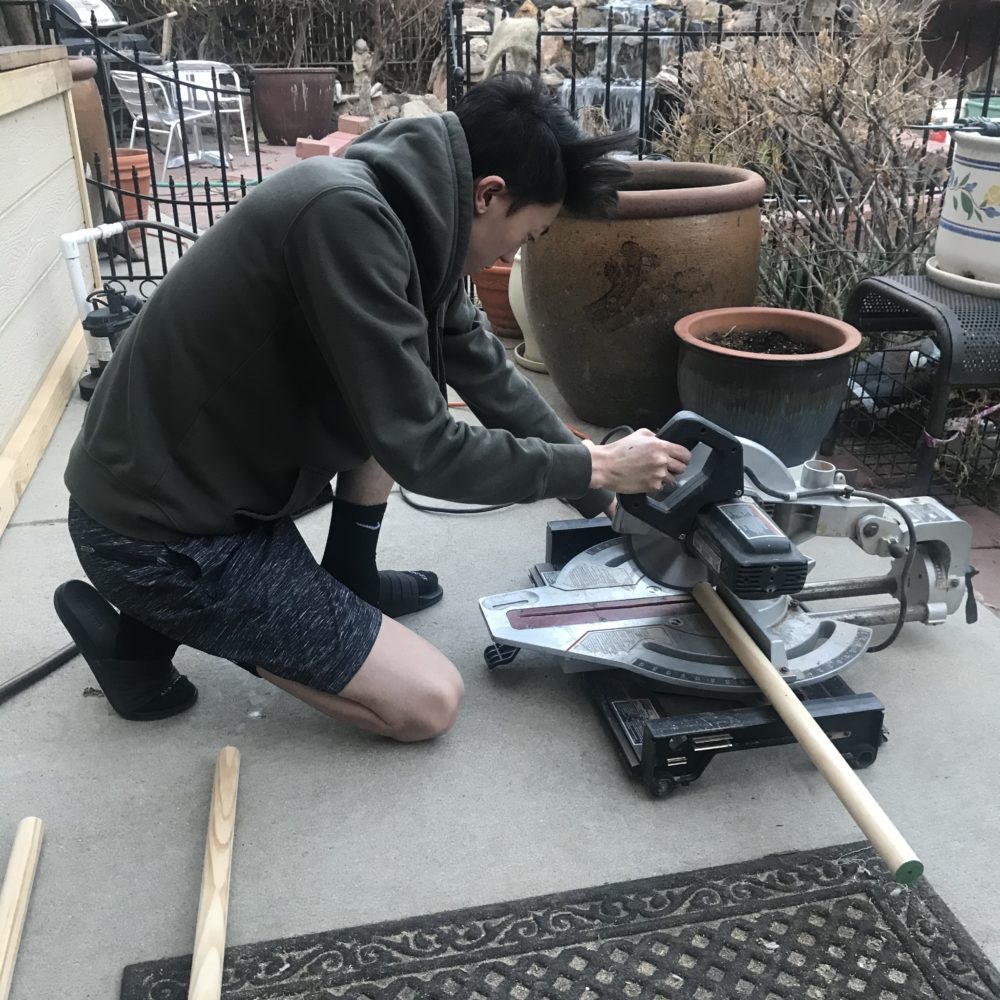
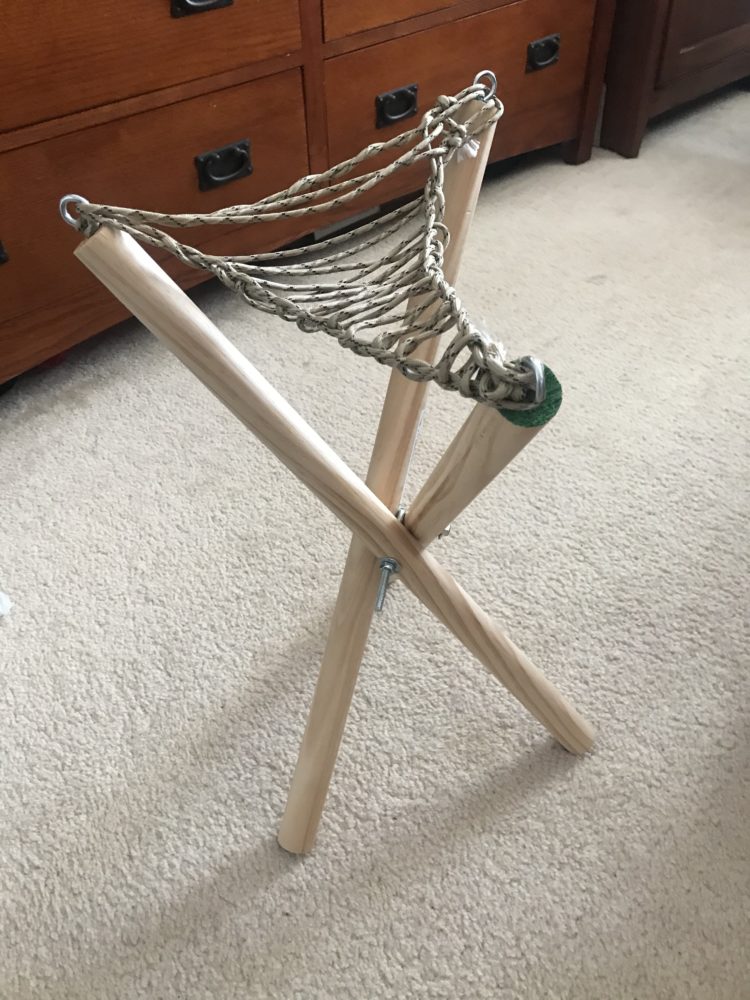
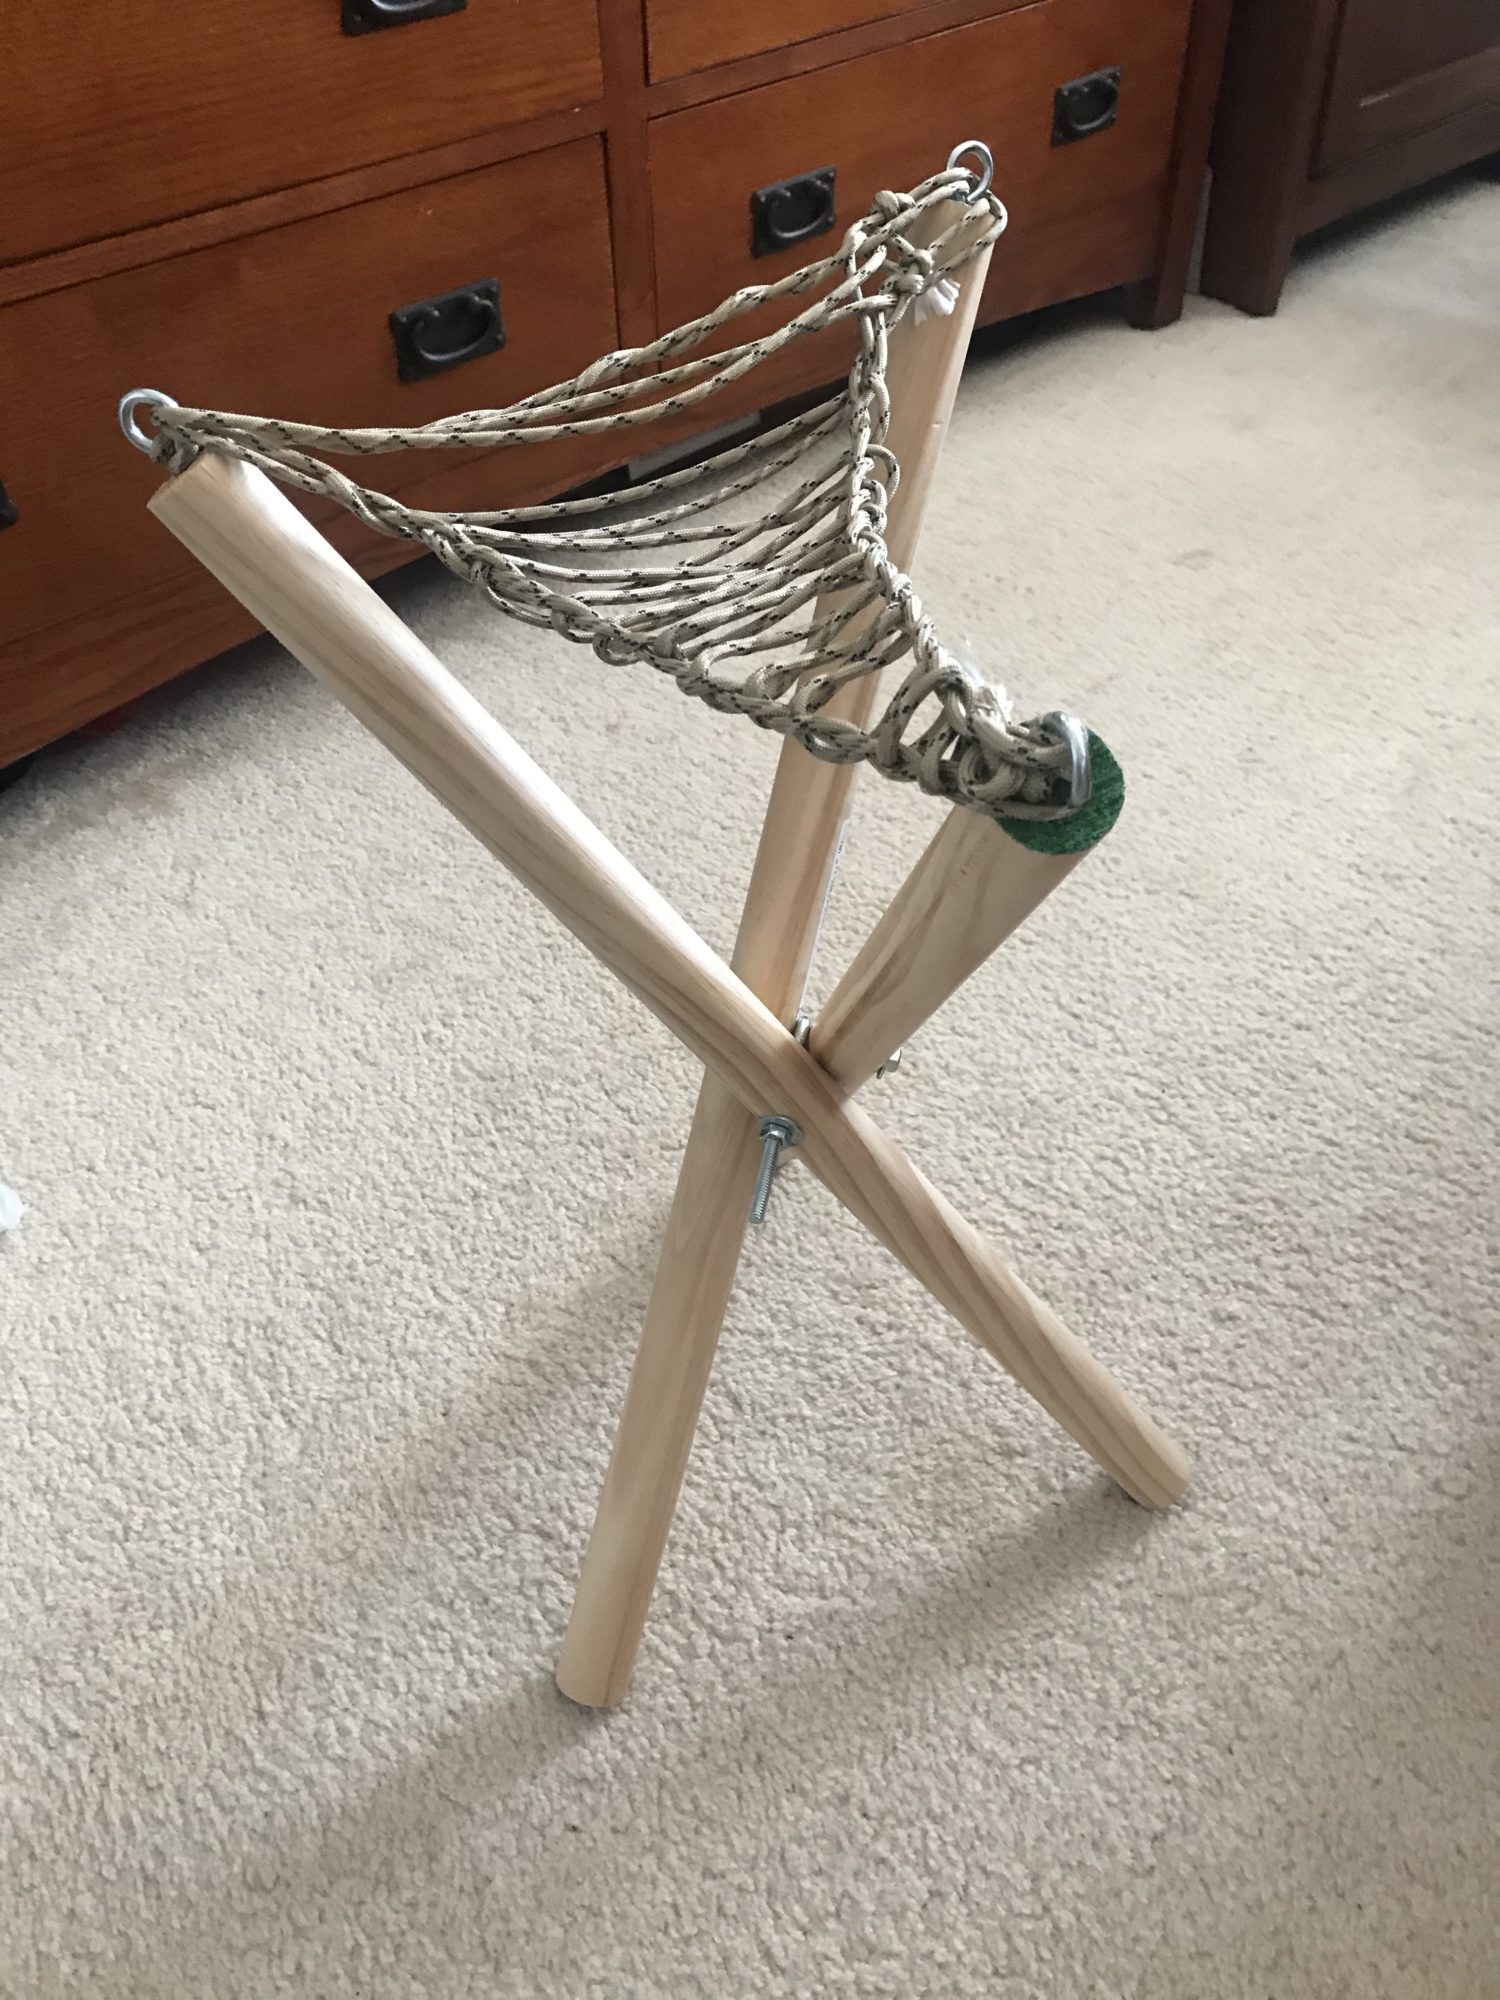
After buying all the necessary material needed for my project, I began fabrication by cutting the two 48″ wooden dowels I had a purchased in half. Using my dad’s table saw, I was able to make a clean cut down the middle of the dowels to create four evenly sized 24″ dowels. Three of these dowels were used for the legs of my tripod chair.
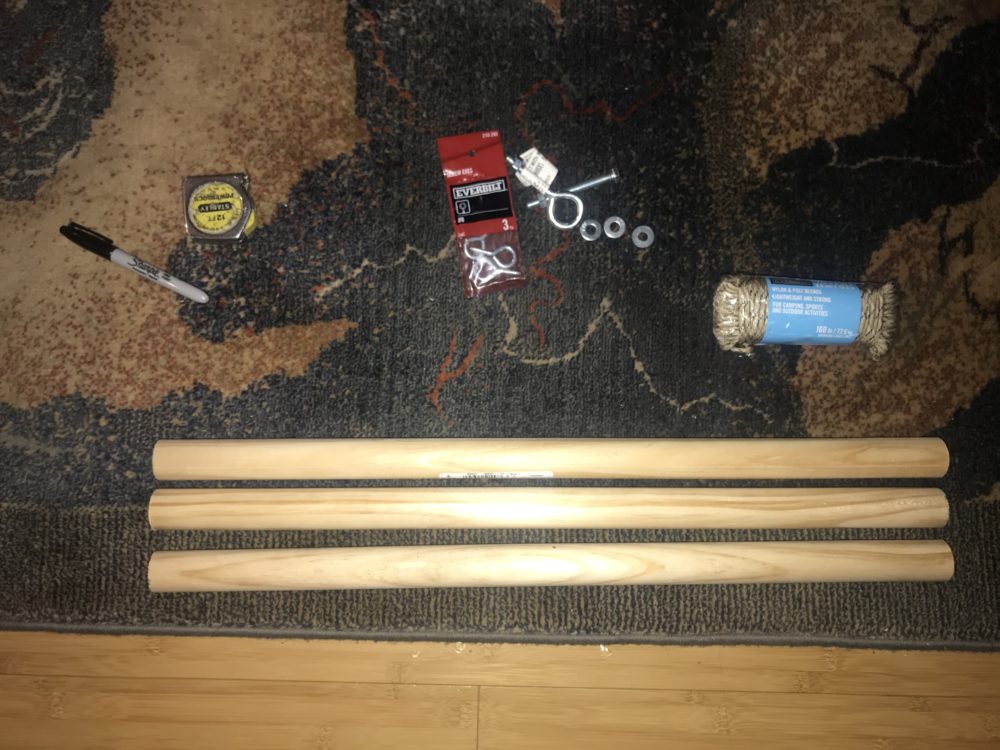
Next, I drilled holes through the center of each dowel so that they could be connected to one another using a hanger bolt and an eye bolt. Using a tape measure, I measure to the middle of each dowel (12″) and marked it with a sharpie. To drill the holes, I decided to use a cordless 18V drill with a 1/4″ diameter drill bit. After this, I used a smaller drill bit to help start holes at the ends of each dowel so that I can screw in eye screws. The eye screws were manually screwed in to the ends.
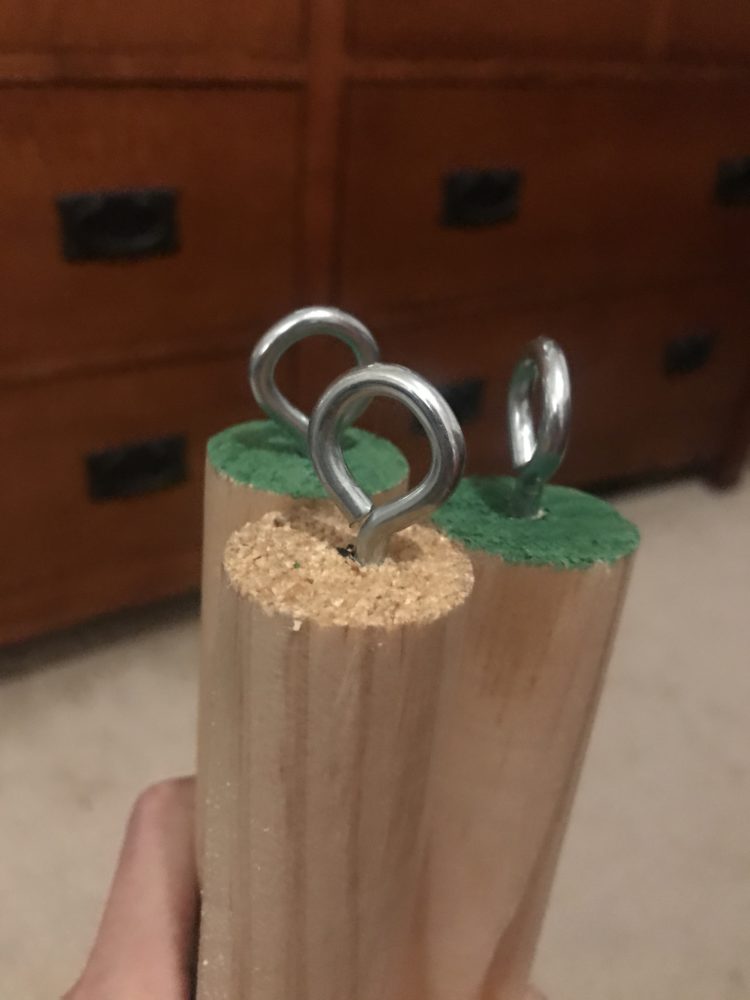
Once this was completed, I started on the assembly of the chair legs. The assembly for the base for the chair was started by inserting the hanger bolt through a washer then through one dowel followed by the eye bolt and finished off with another washer and dowel. The eye bolt in the middle between the two dowels was then used to connect the last dowel to the assembly. The third dowel was fastened by using a washer and another hex nut.
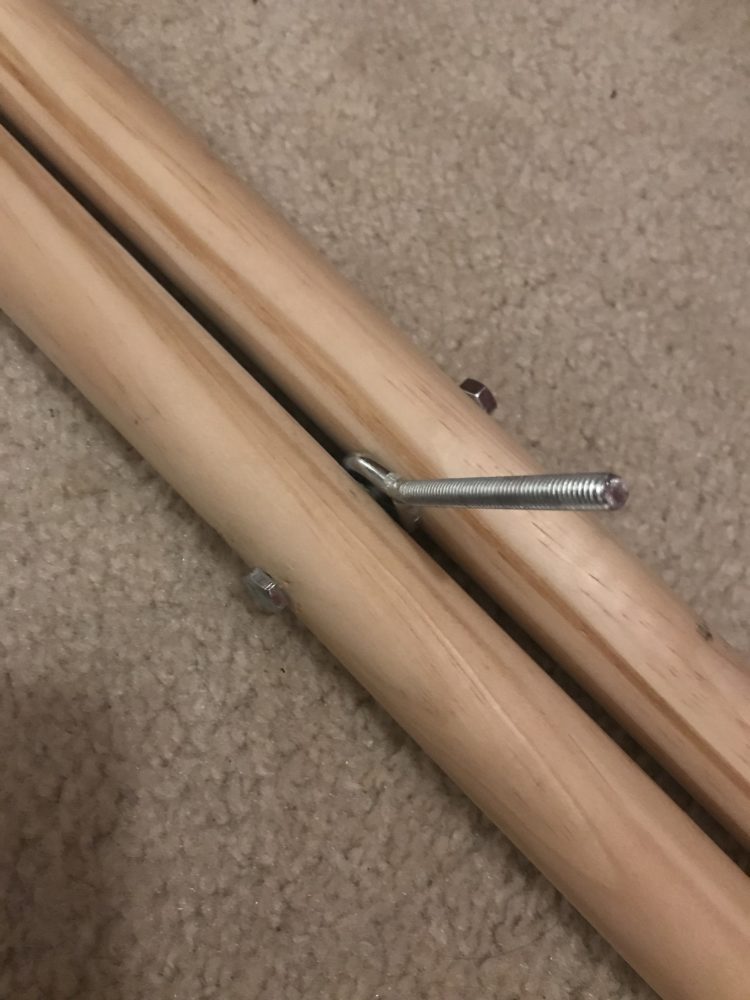
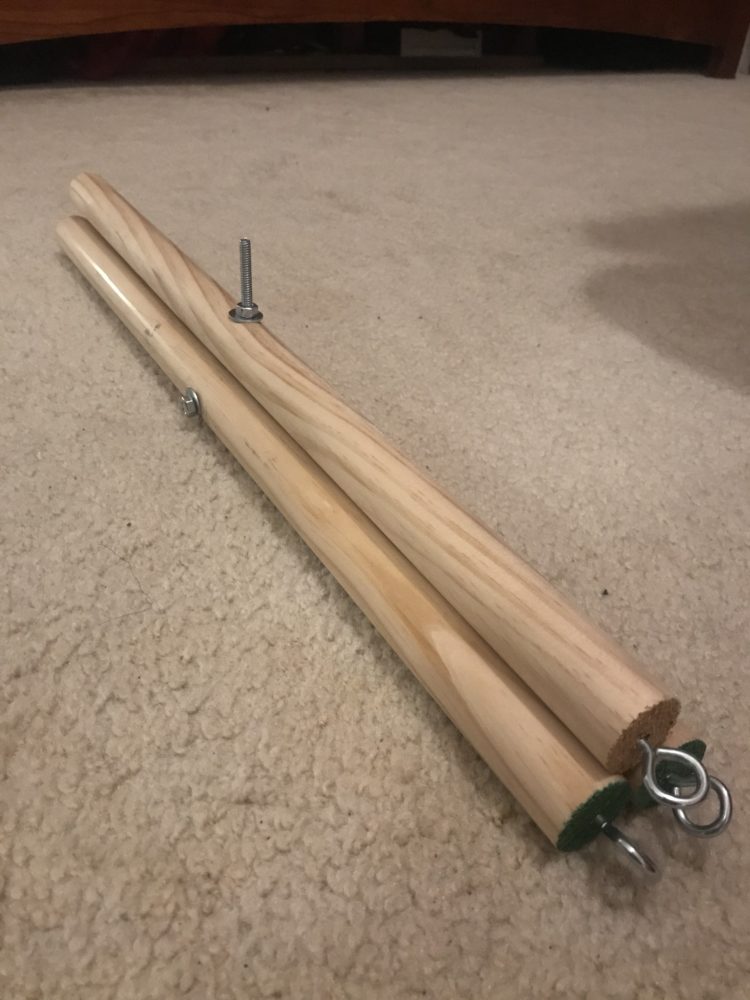
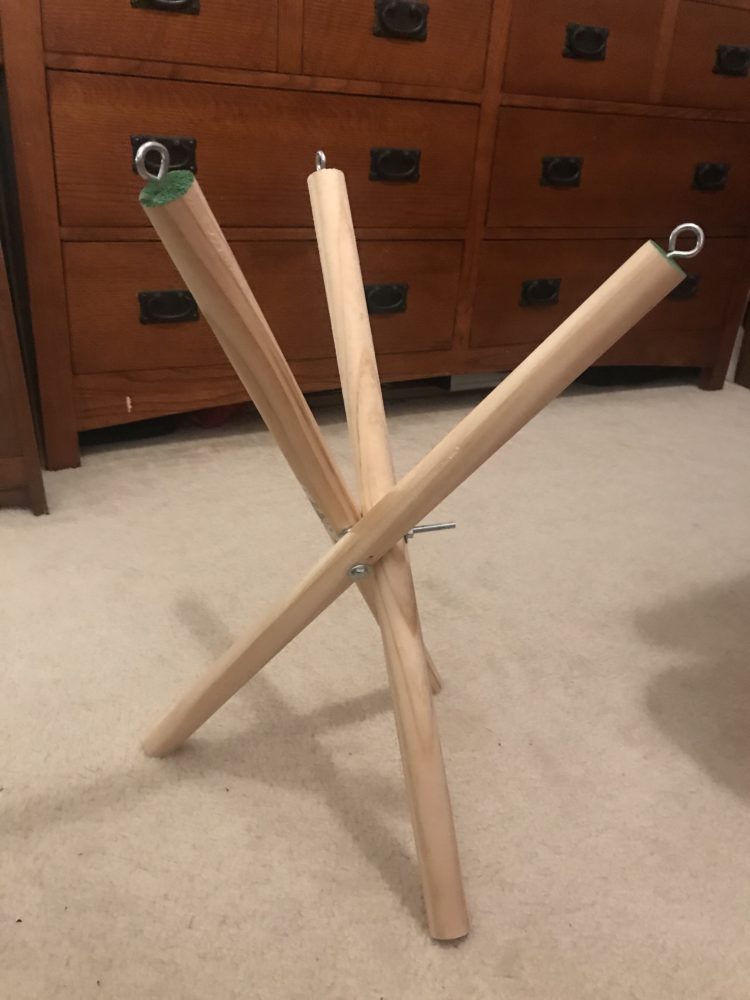
Finally, after the base was fully assembled, the last step was to create a seat using paracord. The paracord seat would be held up by running it through the eye screws at the top of each dowel. This step took the most time as I struggled with creating an effective weave for the seat using a single strand of paracord. After a lot of trial and error, I was able to weave a seat that is comfortable enough to sit on without falling through.
Final Product
Conclusion
Overall, I’m proud of the final results. My final product was able to be fabricated at home and achieved all the design objectives I initially set to out do. It functions well as a chair while also being lightweight and durable. It provides additional functionality with the use of paracord for a seat that can be cut off if needed. It fits in well with my desired aesthetic as well and achieved the look I had planned for. In the future, I do want to research more on proper weaving techniques so that I can make a better seat that will be more comfortable to sit on. I might consider an idea shared by another student to use another strand of paracord and weaving it perpendicular to the existing weave. Another small change I would make would be to get a shorter eye bolt as the current one is too long and stick out of the base. Lastly, I will also consider cutting the feet of the dowels at and angle to sit flush to the ground and provide more stability when being used. With that being said, however, I am more than content with its current state and will definitely use it on future camping trips or other outdoor activities.

1 Comment. Leave new
I don’t think I have any suggestions for you that you haven’t already thought of. If you’re comfortable using material other than para-cord you may be able to create a more comfortable seat, but I really like the way the para-cord looks and I can see why you’d want to keep it. I’m doubtful having school resources would’ve changed much; your chair looks complete and is fully functional. Congratulations on being able to create and finish this!